
How to Make a Key Fob Wristlet (Beginner Friendly)
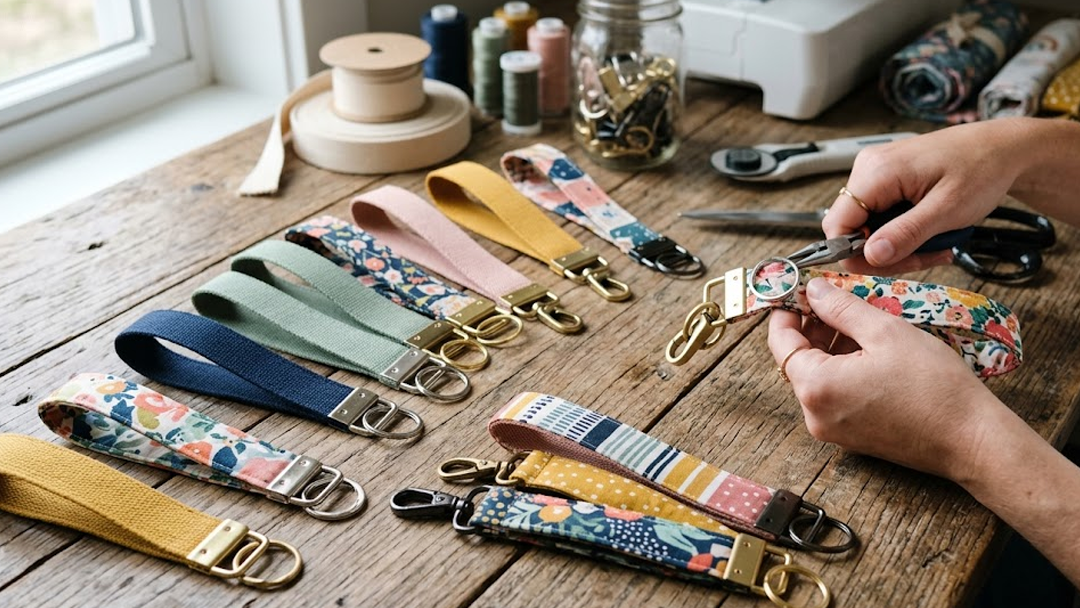
If you are looking for a simple project that is both practical and easy to make, a key fob wristlet is a great place to start.
It requires minimal materials, does not take much time, and produces something you will actually use every day. It is also one of the easiest ways to get comfortable working with webbing and hardware without committing to a larger build.
Whether you are making one for yourself, as a gift, or as part of a small product line, this guide walks through the process step by step so you can create a clean, durable result.
Why Key Fob Wristlets Are a Great Starter Project
Some DIY projects require a lot of setup or specialized tools. Key fob wristlets are not one of them.
They are small, repeatable, and forgiving. Even if your first one is not perfect, you can quickly make another and improve your technique.
They also highlight important fundamentals like cutting, sealing, and stitching webbing. These are the same skills used in larger projects like bag straps and dog collars.
On top of that, they are useful. A wristlet makes it easier to carry keys, keeps them accessible, and adds a bit of personal style.
Materials You Will Need
The materials for a key fob wristlet are straightforward.
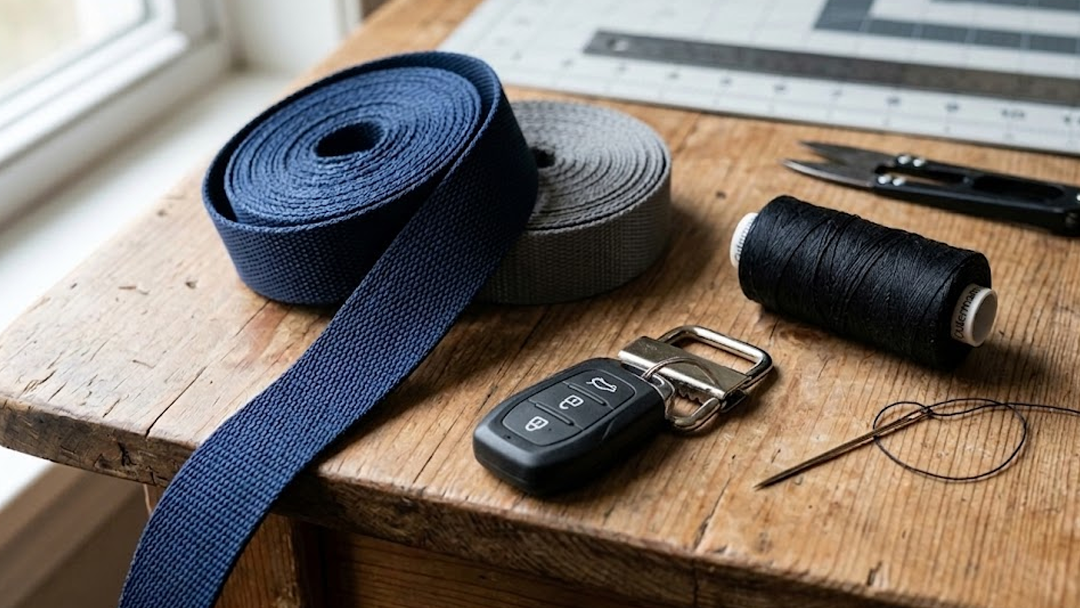
Webbing is the main component. Nylon or polyester webbing works well because it is strong, flexible, and easy to handle.
You will also need a key fob hardware piece. This is the metal clamp that holds the webbing and includes a key ring for attaching keys.
Thread is required for stitching. A heavy-duty thread is recommended to ensure durability, even though the project is small.
Tools for the Job
You do not need a complex setup to make a wristlet.
A sewing machine is helpful, but many people successfully make these by hand with careful stitching.
You will also need:
Sharp scissors or a cutting tool
A lighter or heat source for sealing edges
A measuring tool
Optional tools like pliers or a small hammer can help secure the key fob hardware, but they are not strictly required.
Step 1: Measure and Cut the Webbing
Start by deciding how long you want your wristlet to be.
A common finished size allows the loop to fit comfortably around your wrist without being too loose. This usually means cutting a piece of webbing between 10 and 12 inches long, depending on your preference.
Keep in mind that some length will be used when folding and attaching the hardware.
Once you have your measurement, cut the webbing cleanly using sharp scissors.
Step 2: Seal the Edges
After cutting, the ends of the webbing need to be sealed.
Synthetic webbing will fray if left untreated. To prevent this, use a lighter or controlled flame to gently melt the edges.
Move the flame quickly and evenly across the cut edge. The goal is to fuse the fibers, not burn them.
Allow the webbing to cool before handling it. The edge should feel smooth and slightly firm.
Step 3: Form the Loop
Take your piece of webbing and bring the two ends together to form a loop.
Make sure the webbing is not twisted and that both sides align evenly. A clean alignment at this stage helps the finished wristlet look more polished.
You can clip or hold the ends together temporarily while preparing to stitch.
Step 4: Stitch the Overlap
With the ends aligned, create a small overlap where the webbing meets.
This is where you will sew to secure the loop.
Use a reinforced stitch pattern to hold the layers together. A simple box stitch or a few back-and-forth passes with straight stitching can provide enough strength for this type of project.
Keep your stitching straight and consistent. Even spacing and clean lines make a noticeable difference in the final appearance.
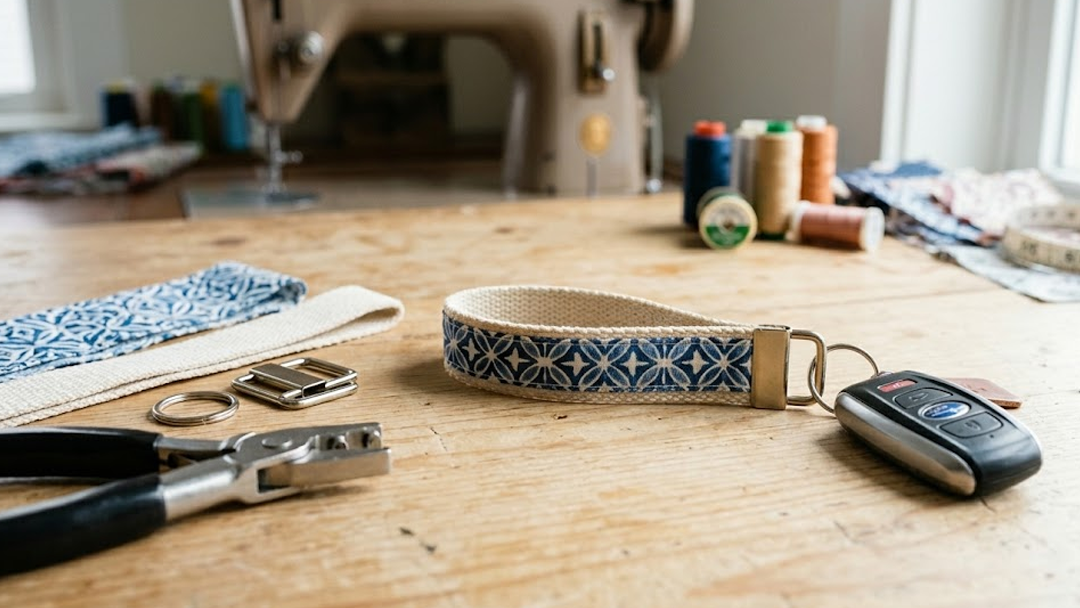
Step 5: Attach the Key Fob Hardware
Once the loop is secured, slide the stitched end into the key fob hardware.
The hardware is designed to clamp down on the webbing, holding it in place. Make sure the webbing is inserted fully and evenly.
To secure it, apply pressure to close the clamp. This can be done using pliers, a small hammer, or by pressing firmly, depending on the hardware design.
Take care to apply even pressure so the clamp closes straight. Uneven pressure can cause the hardware to sit crooked or not hold properly.
Step 6: Final Check
Before using your wristlet, take a moment to check your work.
Make sure the stitching is secure and that the hardware is firmly attached. Pull gently on the loop to ensure everything holds together as expected.
If anything feels loose, it is better to fix it now than after regular use.
Simple Ways to Customize Your Wristlet
Once you have the basic process down, there are plenty of ways to add variation.
Patterned webbing is one of the easiest ways to create a unique look. It adds color and personality without changing the construction.
You can also experiment with different hardware finishes, such as matte or polished metal, to match your style.
For those making multiple wristlets, mixing colors and patterns allows you to create a small collection without changing your workflow.
Turning Wristlets Into a Small Product Line
Because they are quick to produce and require minimal materials, key fob wristlets are often used as entry-level products for small businesses.
They are easy to bundle, giftable, and allow you to showcase different designs.
If you are considering selling them, consistency becomes important. Keeping your measurements, stitching, and assembly process uniform helps maintain quality across each piece.
Even small details can set your products apart.
Final Thoughts
A key fob wristlet is one of the simplest projects you can make with webbing, but it still offers plenty of opportunity to refine your skills.
Clean cuts, sealed edges, straight stitching, and properly attached hardware all contribute to a finished product that looks and feels well-made.
Once you have the process down, it becomes a quick and reliable project that you can repeat, customize, and build on.
FAQ
What size webbing should I use for a wristlet?
One-inch webbing is a common choice because it provides a good balance of strength and comfort.
Do I need a sewing machine to make a wristlet?
No, you can sew it by hand, but a sewing machine makes the process faster and more consistent.
How do I keep the webbing from fraying?
Heat sealing the cut edges prevents fraying and creates a clean finish.
What type of thread should I use?
A heavy-duty thread is recommended for durability, even in smaller projects.
Can I make wristlets with patterned webbing?
Yes, patterned webbing is a popular option for adding style without changing the construction.
How do I attach the key fob hardware securely?
Apply even pressure with pliers or a similar tool to close the clamp fully around the webbing.
Are wristlets strong enough for everyday use?
Yes, when made with proper materials and stitching, they are durable enough for daily use.
Can I sell key fob wristlets?
Yes, they are a popular handmade product and are often used as entry-level items for small businesses.


