
How to Make Custom Bag Straps That Look Store-Bought

A bag strap might seem like a small detail, but it has a huge impact on how a finished bag looks and performs. Even a well-made bag can feel incomplete if the strap looks uneven, flimsy, or poorly finished.
The difference between something that looks homemade and something that looks professionally made usually comes down to materials, proportions, and attention to detail. The good news is that none of this requires advanced techniques. It just requires a clear process and the right approach.
If you are building your own straps for tote bags, crossbody bags, or backpacks, this guide walks through how to create clean, durable straps that hold up in everyday use and look polished from every angle.
Why Bag Straps Matter More Than You Think
Straps are one of the most used parts of any bag. They carry weight, handle friction, and are constantly in motion.
Because of that, they need to do three things well.
They need to be strong enough to handle load without stretching or failing. They need to be comfortable to carry over time. And they need to look clean and intentional.
A well-made strap improves the overall feel of the bag. It adds structure, balance, and a finished appearance that people immediately notice.
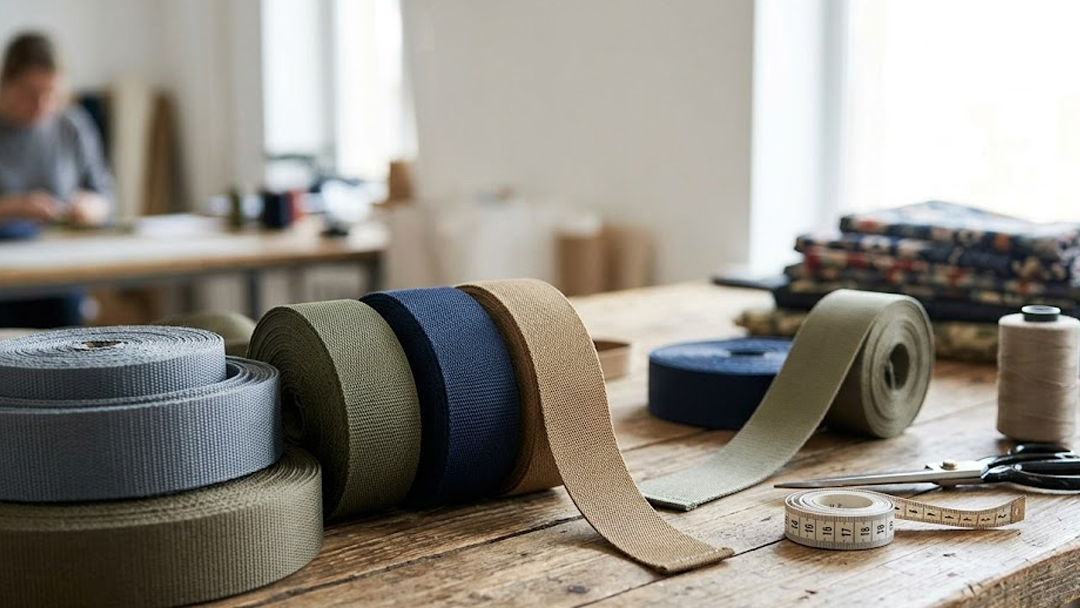
Start with the Right Materials
The foundation of a good strap is the material.
Webbing is one of the most reliable choices because it combines strength with flexibility. Nylon and polyester webbing are both strong options, each offering slightly different benefits depending on the use.
Nylon tends to feel softer and has a bit of stretch, which can improve comfort. Polyester is more resistant to moisture and UV exposure, which makes it a good choice for outdoor or everyday wear.
If you want to elevate the appearance, you can layer patterned webbing or ribbon on top of a structural webbing base. This allows you to add design without sacrificing strength.
Avoid using materials that look good but cannot handle tension. A strap that fails under weight will undermine the entire project.
Choosing the Right Width and Length
Proportion is one of the biggest differences between a professional-looking strap and one that feels off.
Wider straps distribute weight more evenly and are more comfortable for heavier bags. Narrow straps can work well for smaller or lighter designs but may feel less stable under load.
Length depends on how the bag will be used.
Shorter straps are ideal for handheld or shoulder carry. Longer straps are better for crossbody designs. Adjustable straps add flexibility, especially for everyday use.
Before cutting, it helps to mock up the strap length with a piece of webbing or fabric. This gives you a better sense of how it will sit when worn.
Cutting and Sealing for a Clean Finish
Clean edges are one of the easiest ways to improve the overall look of your strap.
Use sharp scissors or a cutting tool to create a straight edge. Uneven cuts can make the strap look unrefined and make assembly more difficult.
After cutting, seal the ends of synthetic webbing with heat. This prevents fraying and creates a smooth, finished edge.
The goal is to lightly melt the fibers, not burn them. A controlled flame applied briefly is enough to seal the edge without discoloration.
This step is simple, but it makes a noticeable difference in the final result.
Hardware That Matches the Build
Hardware is where function and appearance come together.
Common strap hardware includes:
D-rings or rectangular rings
Swivel hooks
Triglides for adjustability
Buckles for closure
The key is choosing hardware that matches both the size of your webbing and the style of your bag.
Metal hardware tends to offer a more polished, durable feel. It works well for bags that are meant to carry weight or see regular use.
Plastic hardware can be used for lighter applications, but it may not provide the same visual finish.
Consistency matters. Matching finishes across all hardware components helps the strap look cohesive and intentional.
Assembly That Looks Clean and Intentional
How you assemble the strap has a big impact on how it looks.
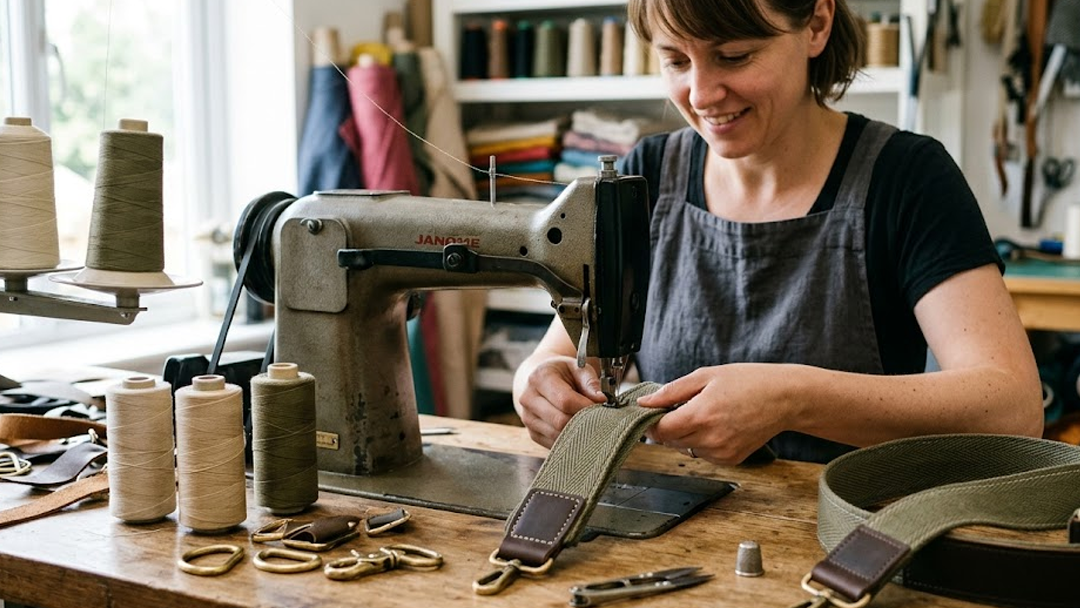
Start by threading the webbing through your hardware in the correct sequence. This often includes attaching hooks or rings at each end and feeding the strap through a triglide for adjustability.
When folding the webbing to secure hardware, keep the folds even and aligned. Uneven folds are easy to spot and can make the strap look rushed.
Clipping or holding the layers in place before sewing helps maintain alignment.
Take your time here. Small adjustments at this stage can improve the overall finish significantly.
Stitching for Strength and Appearance
Stitching is where many straps either come together or fall apart.
A simple straight stitch may hold temporarily, but it does not provide the strength needed for long-term use. Reinforced stitch patterns are a better option.
A box stitch or box-and-X stitch distributes tension across the webbing and helps prevent failure at stress points.
Keep your stitching straight and consistent. Crooked or uneven stitching is one of the most noticeable signs of a strap that was not carefully made.
Thread choice matters as well. Heavy-duty thread helps maintain strength while still allowing for a clean finish.
Adding Design Without Losing Structure
If you want your straps to stand out, design can be layered on top of function.
Patterned webbing, ribbon overlays, or contrasting stitching can all add visual interest. The key is to build these elements on top of a strong base.
For example, sewing a decorative ribbon onto a nylon webbing base allows you to add color and pattern while maintaining durability underneath.
Avoid relying on decorative materials alone for strength. Structure should always come first.
Testing Before Final Use
Before attaching the strap to a finished bag, test it.
Apply tension to the strap and check for any movement in the stitching or hardware. Make sure everything feels secure and stable.
It is easier to fix issues at this stage than after the strap is fully integrated into a bag.
Testing also gives you confidence that the strap will perform as expected in everyday use.
Small Details That Make a Big Difference
Professional-looking straps often come down to small details.
Even spacing, clean edges, aligned hardware, and consistent stitching all contribute to the final look.
Taking a few extra minutes to refine these elements can elevate the entire project.
It is not about making the process more complicated. It is about being intentional with each step.
Final Thoughts
Making custom bag straps that look store-bought is less about advanced techniques and more about consistency.
Strong materials, well-matched hardware, clean cutting, and reinforced stitching all work together to create a finished product that looks polished and performs reliably.
When each part of the process is handled with care, the result is a strap that not only holds up but enhances the overall quality of the bag.
FAQ
What is the best material for bag straps?
Nylon and polyester webbing are both strong, durable options that work well for most bag straps.
How wide should a bag strap be?
Wider straps are more comfortable for heavier bags, while narrower straps are suitable for lighter designs.
Do I need special thread for webbing?
Heavy-duty thread is recommended to ensure strength and durability.
How do I prevent webbing from fraying?
Heat sealing the cut edges helps prevent fraying and creates a clean finish.
What stitch is best for bag straps?
Box stitches and box-and-X stitches are commonly used because they distribute tension and improve strength.
Can I make adjustable bag straps?
Yes, using triglides or adjustable hardware allows you to create straps that can be resized.
Is metal or plastic hardware better for straps?
Metal hardware is generally more durable and provides a more polished look, while plastic is lighter and works for simpler projects.
How do I make my straps look more professional?
Focus on clean cuts, aligned hardware, consistent stitching, and using high-quality materials.


