How to Repair a Seat in your Kayak
Inspecting and Replacing Nylon Webbing for Safety & Comfort
Keeping your kayak in excellent working condition is essential for both comfort and safety. A damaged or poorly functioning kayak seat can lead to discomfort, reduced paddling efficiency, and potentially dangerous situations on the water. Always inspect your kayak — especially the seat — before heading out.
Why Kayak Seat Condition Matters
Your kayak seat plays a critical role in back support, balance, and paddling endurance. If the nylon webbing in the seat begins to wear or fail, it should be repaired or replaced immediately. Worn webbing can:
- Cause back pain during long paddles
- Reduce stability and control
- Lead to fatigue or unsafe conditions
Inspecting the Seat Components
Before making repairs, carefully inspect all parts of the seat:
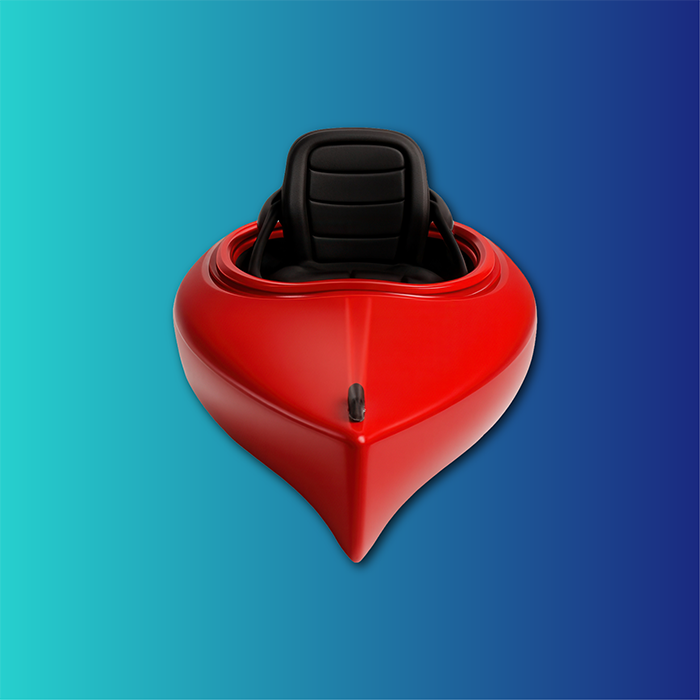
Plastic Seat Base
If the plastic portion of the seat is cracked or broken, it cannot be safely repaired and should be replaced entirely.
Attachment Points & Hardware
Check all screws, washers, and mounting points to ensure they are secure and not corroded or worn. Loose or damaged hardware can compromise the entire seat system.
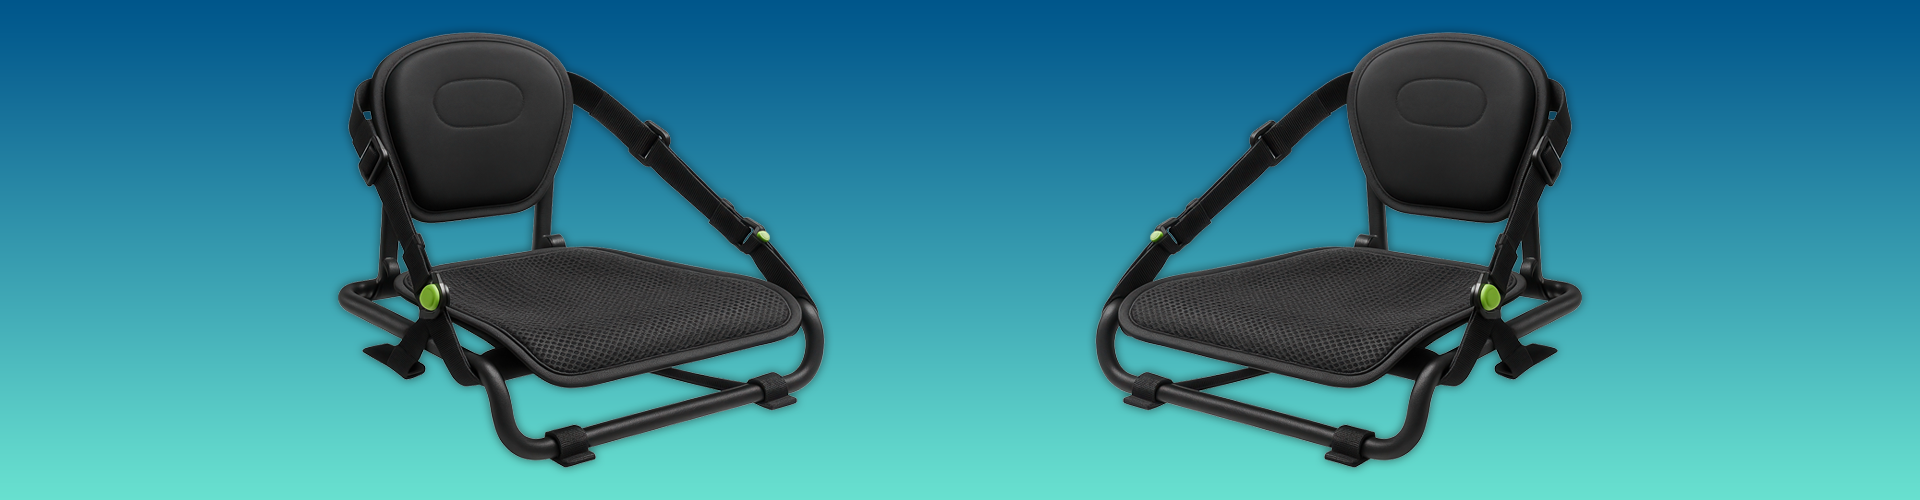
Nylon Webbing
Inspect the webbing for:
- Fraying or thinning
- Stiffness or cracking
- Loss of tension or adjustability
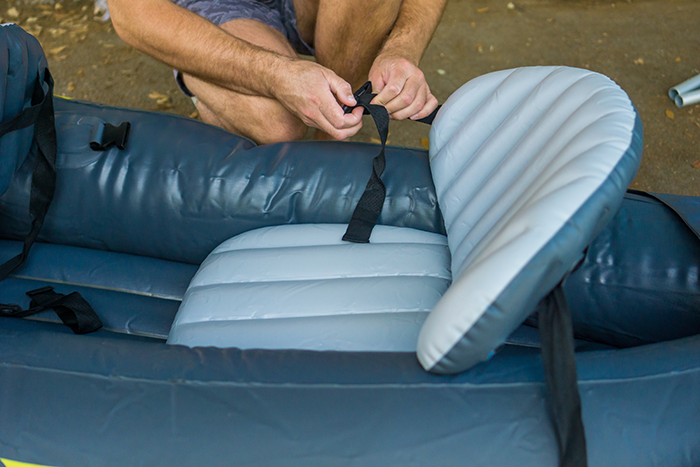
Removing and Inspecting the Seat
To ensure proper shape and alignment, remove the seat from the kayak. While it’s detached:
- Inspect all screws and washers closely
- Replace any hardware showing signs of wear
- Check that the seat still maintains proper support for your back
This is also a good opportunity to reform or remold the seat, adjusting it back to its original shape or tailoring it for better ergonomic support
Replacing Damaged Nylon Webbing
If any of the nylon webbing is frayed or weakened, it should be replaced rather than repaired.
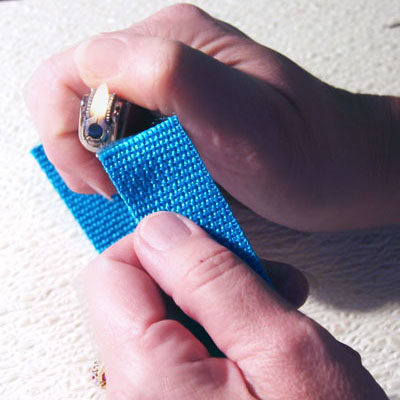
- Cut the damaged webbing using sharp scissors or a cutting tool.
- Heat-seal the ends of the new webbing with a controlled heat source to prevent fraying.
- Allow the ends to cool before installation.
![]()
Use caution when working with heat, and avoid damaging nearby kayak components.
Reassembling the Seat
When reinstalling the seat:
- Secure all screws and washers tightly
- Ensure webbing is properly tensioned and aligned
- Double-check attachment points
For added security, you may apply a waterproof epoxy to the screws during reassembly to help prevent loosening over time.
Final Safety Check
Before taking your kayak back out on the water, perform one last inspection:
- Confirm that the seat is firmly attached
- Check that the webbing is tight and properly adjusted
- Ensure no screws or washers have loosened
Even a short drive to the water can cause hardware to shift if repairs weren’t completed properly.
Paddle With Confidence
Regular inspection and timely repairs help ensure your kayak remains comfortable, safe, and ready for adventure. By replacing worn nylon webbing and securing hardware correctly, you can paddle with confidence knowing your seat will support you when it matters most.


