
Common Mistakes to Avoid When Making Dog Collars
Making your first dog collar can feel like a straightforward project right up until you buckle it around an actual dog's neck and realize something is off. Maybe the hardware sits wrong. Maybe the sizing feels short. Maybe the webbing you picked looked great on the spool but starts fraying after a week of real use. These things happen to nearly everyone who starts making collars. Most of them are completely avoidable once you know what to look for, and after more than two decades of putting webbing and hardware into the hands of makers at our shop in Moulton, Alabama, we've seen the same handful of mistakes come up again and again. Here's what they are and how to get ahead of them.
Choosing the Wrong Webbing Width for the Dog's Size
The most common version of this mistake is choosing webbing width based on what looks good rather than what actually works for the dog wearing it. A one-inch collar might look sleek on a large dog, but it concentrates pressure on a narrower area of the neck. That can cause real discomfort during walks, especially for dogs that pull.
On the other end, a wide collar on a small dog can be stiff and heavy, restricting natural movement in ways the dog will let you know about. General sizing guidelines give you a starting point:
- Small dogs under 25 pounds typically do well with 5/8 inch to 3/4 inch webbing;
- Medium dogs between 25 and 60 pounds usually fit 3/4 inch to 1 inch;
- Large dogs over 60 pounds often need 1 inch to 1.5 inch depending on build and temperament.
But those numbers are a starting point, not a rule. A lean greyhound and a stocky bulldog at similar weights may need entirely different approaches based on neck shape and how they carry themselves on a leash.
Width also affects how the collar holds up over time. Narrow webbing on a strong, active dog may stretch or show wear faster than wider webbing that spreads force more evenly across the surface.
Ignoring Hardware Quality and Weight Ratings
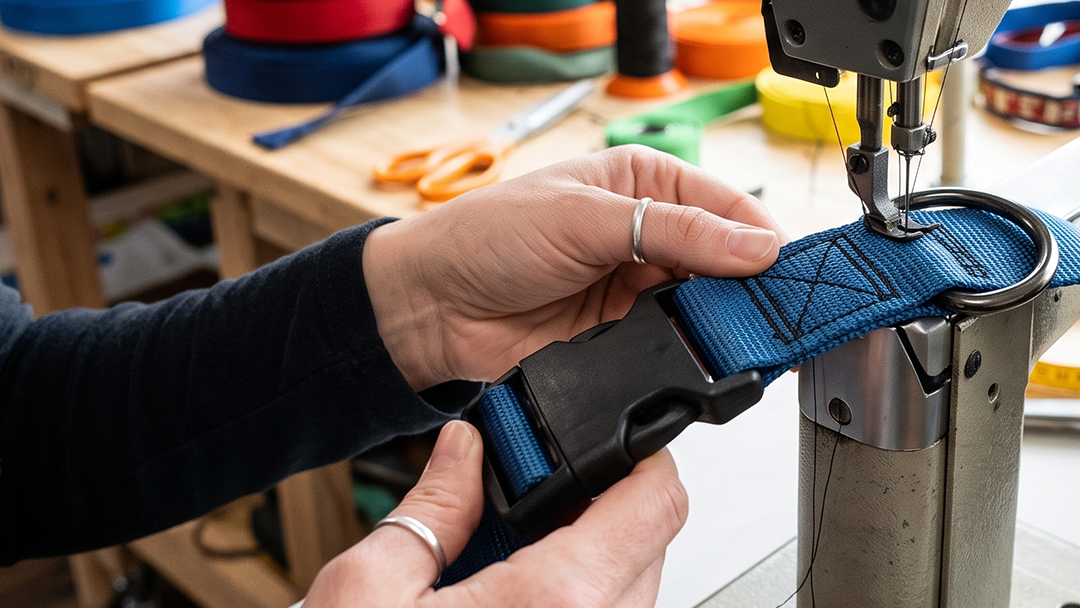
Choosing buckles, D-rings, or sliders based on how they look is one of the more consequential mistakes a collar maker can make. Hardware has to perform under stress, and the difference between quality and budget hardware is not always visible until something goes wrong.
Low-quality hardware often has weak welds, rough edges, or materials that bend or crack under force. Plastic buckles can become brittle in cold weather or degrade with sustained UV exposure. Metal hardware should be smooth with no burrs or sharp edges that could irritate skin or catch on fur.
Even a 20-pound dog can generate meaningful force if they lunge suddenly, and larger dogs can put several hundred pounds of pressure on a collar in a single moment.
Weight matters too. Heavy hardware on a small dog creates unnecessary bulk and can shift the collar in ways that cause discomfort. Lightweight hardware on a large, high-energy dog may simply not be built for what you're asking it to do.
At Country Brook, we stock hardware that's specified for pet collar applications, with actual material and weight rating information available rather than just a SKU and a photo. When customers call our Moulton shop to talk through a project, hardware specs are almost always part of that conversation.
Incorrect Sizing and Adjustment Range
A poorly sized collar is uncomfortable at best. At worst, a dog can slip out of it or, on the other end of the spectrum, struggle to breathe comfortably. Both are avoidable with careful measuring and intentional design.
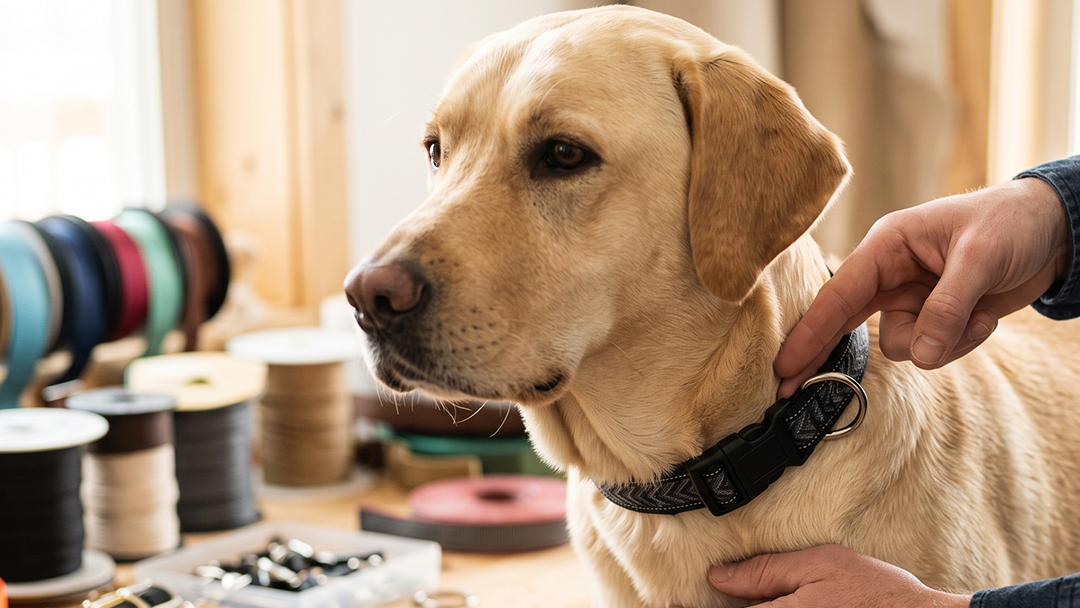
The two-finger rule is the standard reference point: when the collar is fastened, you should be able to slip two fingers comfortably between the collar and the dog's neck.
Where makers run into trouble is in the calculation of finished length, forgetting to account for hardware overlap, folded webbing at attachment points, and the seam allowances that eat into total length more than you'd expect.
Adjustment range is just as important. Dogs gain and lose weight. Coats thicken through winter and shed down in summer. A collar that fits perfectly in October might be too snug by February on a double-coated breed. Build in at least three to four inches of adjustment range to accommodate those changes without requiring a new collar every season.
Measure your webbing before cutting. Measure again after attaching hardware. Measure the finished collar before calling it done. Small errors compound, and a half-inch mistake at the beginning can make the difference between a collar that works and one that goes back to the cutting table.
Using Materials That Don't Hold Up to Real-World Use
A collar can look exactly right when it comes off the machine and still fall apart after a few weeks of actual use. That usually comes down to materials that weren't chosen with the application in mind.
Some webbing is made for lightweight decorative applications, bag straps, or interior trim work. It can look nearly identical to heavy-duty collar webbing but lacks the tensile strength or abrasion resistance the job demands. The wrong webbing may look fine on day one but start showing wear quickly under repeated moisture, friction from a dog's coat, or dirt exposure.
One thing we've noticed from handling high volumes of webbing in our own operations: weave density is something you can feel. Tight, dense webbing has a different hand to it, and once you know what you're looking for, the difference is obvious.
Thread is another place makers underestimate. Regular polyester thread can work for lightweight applications, but bonded nylon or heavy-duty polyester thread holds up significantly better under stress. For collars worn outdoors consistently, UV-resistant thread is worth the upgrade because sunlight degrades standard thread faster than most people expect.
Hardware finish matters for longevity too. Plated hardware looks great initially but can chip, flake, or corrode with sustained exposure to moisture, saliva, or salt. Solid brass, stainless steel, and high-quality coated hardware stay functional and presentable much longer, especially for dogs who swim or spend significant time outside.
The goal isn't to use the most expensive materials across the board. It's to match materials to how the collar will actually be used. A collar for a dock-diving Lab needs different material thinking than one for a small dog who rarely goes outdoors.
Weak or Poorly Placed Stitching
The right materials can still produce a failed collar if the stitching isn't done well. This is one of the most preventable problems, and it shows up more often than it should.
Common stitching mistakes include too few passes over attachment points, stitches placed too close to webbing edges, skipped backstitching at the start and end of runs, and stitch patterns that create single points of failure.
A single line of stitching looks clean but gives force nowhere to go except straight through that one thread path. Box stitching or cross-box stitching distributes load across multiple passes and multiple directions, which is why you see it used consistently in applications where holding strength actually matters.
Thread tension is something a lot of first-time collar makers don't account for. Too tight and the thread will eventually cut through the webbing itself. Too loose and the stitching won't hold under stress. Inconsistent tension creates unpredictable weak spots.
Hardware attachment points are where collars are most likely to fail, and those are exactly the points that need the most reinforcement. Stitching patterns at D-ring attachments and buckle folds should spread stress across a larger area rather than concentrating it at a single fold or loop.
If you're machine sewing, test your tension and stitch length on scrap webbing before running the final collar. If you're hand sewing, prioritize tight, even stitches with a pattern that builds in redundancy.
Stitching is where the real craft lives in collar making, and strong, clean, well-placed stitching is what separates a collar that holds for years from one that fails at the worst possible moment.
A Note for the Intentional Maker
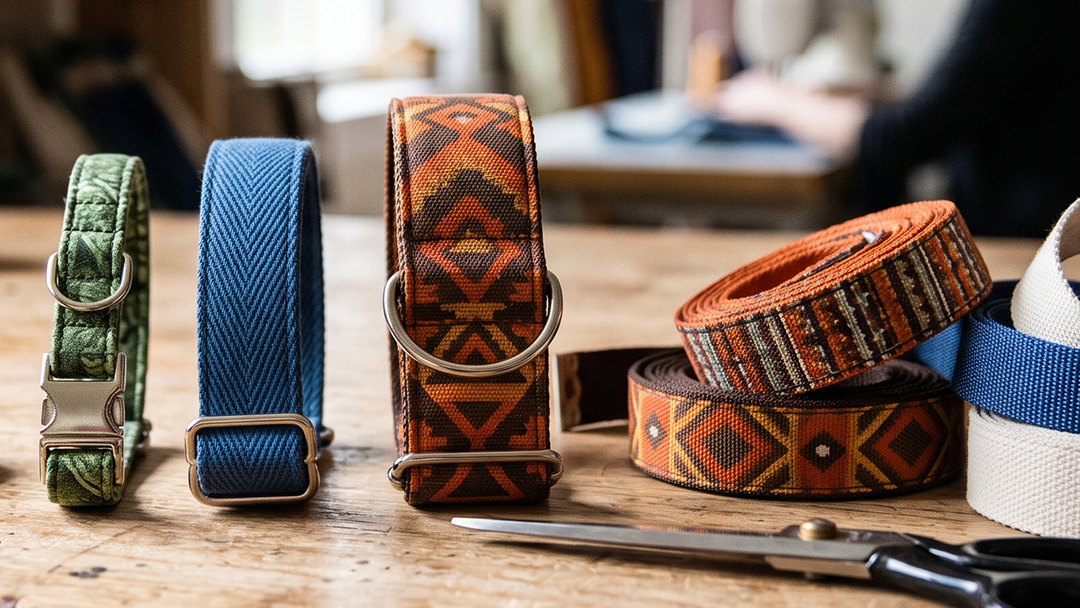
If you're approaching collar making as part of a slower, more deliberate crafting practice, the details above matter even more. Collars made to last, made from materials chosen with thought and care, made with stitching that could hold for the life of a dog, are the opposite of throwaway.
There's real meaning in handing someone a collar and knowing it was built to stay. For makers who care about provenance and about knowing where their materials come from and what they're made of, that starts with sourcing from suppliers who can actually answer those questions. That's something we take seriously, and it's part of why makers who start with one spool of our webbing tend to keep coming back.
Frequently Asked Questions
What type of webbing is best for dog collars?
Nylon webbing is the most widely used choice because of its strength, durability, and resistance to abrasion. Polypropylene is lighter and dries faster but may feel less comfortable for some dogs. The best option depends on the dog's size, activity level, and how the collar will be used. Look for webbing with a tight, dense weave and a clear tensile strength rating.
How much adjustment range should a dog collar have?
Plan for at least three to four inches of adjustment range. That covers seasonal coat changes, modest weight fluctuations, and normal variation in how a collar sits day to day without requiring a new build every few months.
Can I use regular sewing thread for dog collars?
For lightweight collars on small dogs, regular polyester thread can get by. For anything expected to hold up to real outdoor use or larger dogs, bonded nylon or heavy-duty polyester thread is more reliable. UV-resistant thread is worth using for any collar that will spend significant time outdoors.
How do I know if hardware is strong enough for my dog?
Hardware should be rated for at least twice the pulling force your dog is likely to generate. For small dogs that means something in the 50 to 100 pound range. For large or high-energy dogs, look for hardware rated to withstand several hundred pounds. Manufacturer specifications should be clearly available. If they aren't, that tells you something about the hardware.
What's the proper fit for a dog collar?
A properly fitted collar lets you slip two fingers comfortably between the collar and the dog's neck. It should not be loose enough that the dog can back out of it, and it should not be tight enough to restrict breathing or leave marks on the skin. Check fit when you first put it on and revisit it periodically, especially if the dog's weight or coat changes seasonally.
Troy has helped CBC support their community of makers, crafters, small business owners, and DIYers from the Moulton, Alabama shop for over 15 years.


