
DIY Bag Straps: Essential Materials, Tools, and Techniques
Making your own bag straps changes how you think about bags entirely. Instead of working around whatever came attached to a purchased bag or settling for whatever hardware the pattern includes, you gain control over comfort, durability, and aesthetics. A well-constructed strap makes the difference between a bag you reach for constantly and one that sits unused because it digs into your shoulder or feels flimsy.
The process is more approachable than most makers assume. What you actually need is a solid understanding of how materials behave under stress, which tools make the work easier, and which techniques produce straps that hold up to real-world use.
Understanding Strap Materials
The foundation of any functional bag strap is the base material. This decision affects everything from how the strap feels against your body to how long it survives regular use.
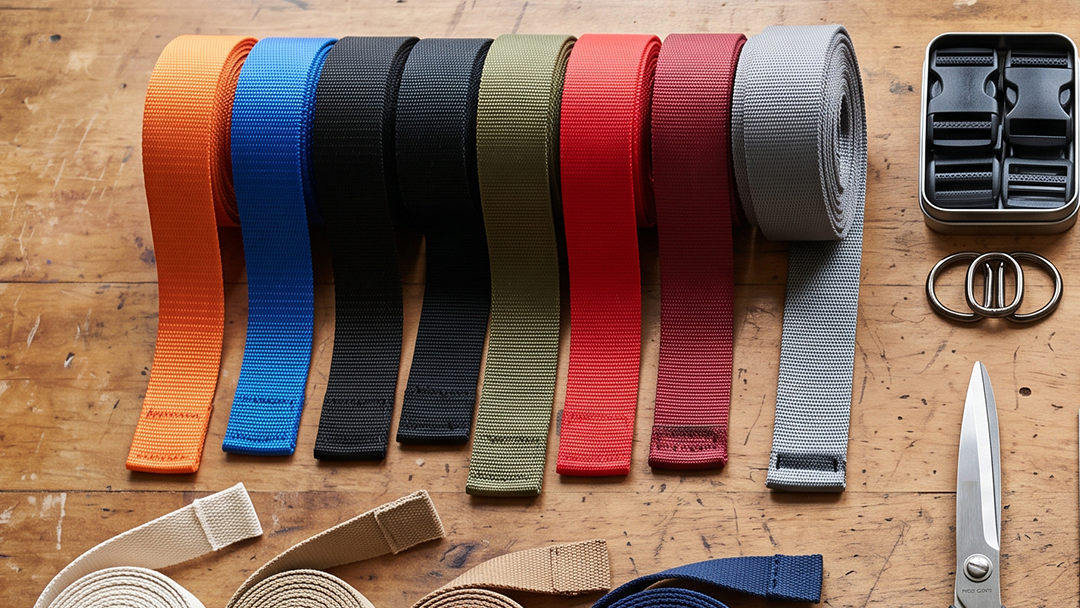
Webbing is the most common starting point for a reason. It's engineered specifically to handle tension and weight distribution, and it comes in a wider range of widths, colors, and fiber types than most makers realize until they start comparing options side by side. At our Moulton shop, we stock webbing in widths from a half inch up through two inches, and the range of what customers are making with it is genuinely impressive.
Polypropylene Webbing
Polypropylene webbing is lightweight and affordable, which makes it a practical choice for casual bags, beach totes, or projects where material cost matters. It does have real limitations, though. Extended UV exposure weakens polypropylene over time, and it can feel somewhat plasticky against bare skin in warm weather. Know that going in.
Nylon Webbing
Nylon webbing offers a better strength-to-weight ratio and superior abrasion resistance. It handles moisture well and maintains its integrity after repeated stress cycles. For bags that will see heavy daily use, hiking packs, or any project where the strap needs to support significant weight over time, nylon is the more durable call.
Cotton Webbing
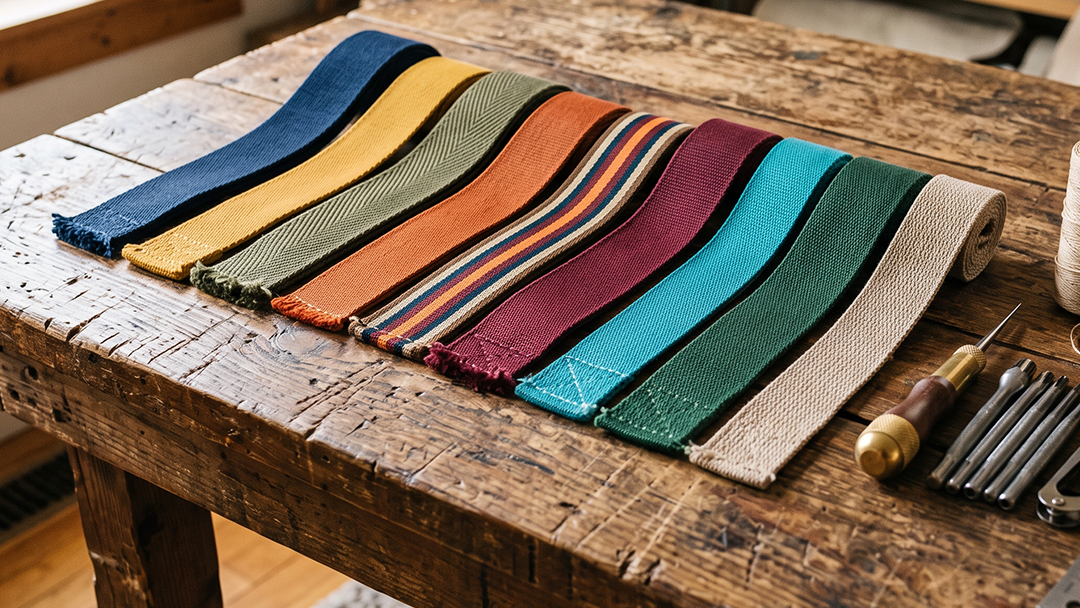
Cotton webbing has a softer hand feel and a more natural look. It works beautifully on bags with a rustic or vintage character, and it's the material we see most often from makers who care as much about how a strap feels to the touch as how it performs. The honest tradeoff is that cotton absorbs moisture, can stretch when wet, and has lower tensile strength than synthetic options. For lightweight bags or straps that won't carry heavy loads regularly, it delivers real comfort and visual warmth that polypro and nylon simply can't match.
Leather
Leather creates straps that develop character over time. Vegetable-tanned leather can be tooled, dyed, and finished to suit virtually any aesthetic, and makers who work with it regularly describe the process as genuinely satisfying in a way that synthetic materials don't always replicate. Leather straps need regular conditioning to prevent cracking, and they work best when the strap is functioning as a design statement as much as a structural component.
Grosgrain Ribbon
Grosgrain ribbon appears in some strap applications, particularly for smaller bags or decorative elements. It comes in a remarkable range of colors and patterns, but it isn't engineered for load-bearing use. Understanding that from the start prevents a lot of disappointment.
A Note for the Intentional Maker
If you're approaching bag-making as a slow craft, the material choice becomes part of the object's story. A cotton strap made from webbing you sourced thoughtfully, attached to hardware you chose for longevity rather than convenience, is a fundamentally different object than one assembled from whatever arrived in a kit. We've had customers come back years after a project to match webbing or replace a single piece of hardware because they want the bag to last. That kind of relationship with materials is exactly what strap-making, done well, encourages.
Essential Tools for Strap Making
The right tools don't just make the work easier. They often determine whether a strap holds together or fails at the worst possible moment.
Cutting Tools
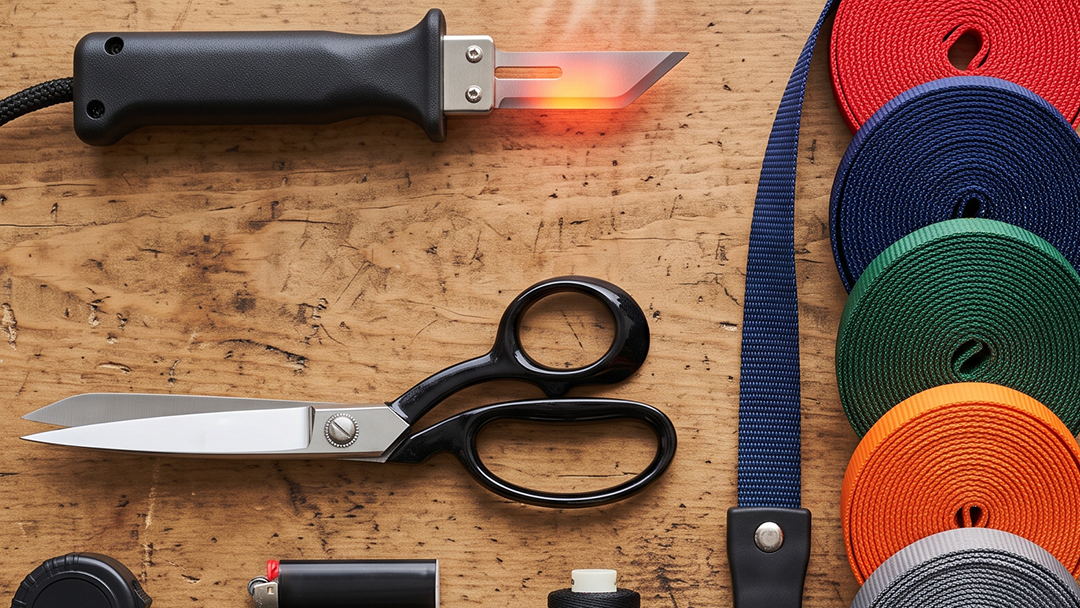
Cutting tools need to produce clean edges without fraying. Fabric scissors work for cotton webbing and lighter materials, but they dull quickly when used repeatedly on synthetic webbing. Hot knives or rope cutters create sealed edges on polyester and nylon webbing by melting the fibers as they cut, which prevents fraying without any additional finishing steps. A soldering iron with a cutting tip produces similar results.
Measuring Tools
Measuring tools matter more than many people expect. A retractable tape measure or metal ruler keeps you accurate, particularly when you're making matching straps or working to a specific finished length. Mark measurements with tailor's chalk or a fabric marker that won't leave permanent traces on material that will show in the finished piece.
Needles and Thread
Needles and thread require careful pairing with your materials. Heavy-duty sewing needles in size 16 or 18 handle most webbing work without trouble. Leather needles have a cutting point that penetrates hide cleanly. Thread should match or exceed the strength of the strap material. Polyester thread is appropriate for most synthetic webbing. Nylon thread offers greater strength for straps expected to carry serious weight. Cotton thread has its place with cotton webbing or when a natural fiber is specifically called for, but it runs weaker than synthetic options under sustained load.
Sewing Machines and Accessories
A sewing machine capable of handling multiple layers of webbing or heavy fabric makes construction faster and typically stronger than hand-sewing alone. A walking foot is worth having. It feeds multiple layers evenly and prevents the bunching and puckering that can compromise both the look and the structural integrity of a finished strap. For leather work done by hand, a good awl and proper leather hand-sewing needles are non-negotiable.
Hardware Installation Tools
Hardware installation tools depend on what you're attaching. Slip-style hardware often needs nothing beyond a lighter to seal webbing ends. Rivets require a rivet setter and hammer, or a dedicated rivet press. Screwback hardware needs only a screwdriver. The hardware category is one area where it pays to think through the whole system before you start, because the wrong combination of webbing width and hardware interior dimensions will cost you time and material.
Strap Construction Techniques
Understanding your materials and having the right tools only gets you so far. How you put everything together determines whether the strap holds up to actual use.
Finishing Webbing Ends
Finishing webbing ends prevents fraying and produces a cleaner result. For synthetic webbing, carefully melt the cut edge with a lighter or hot knife, working in a ventilated space and leaving the melted edge to cool without touching it. The goal is a smooth, sealed edge without large melted blobs. For cotton webbing, fold the raw edge under and stitch it down, or apply a flexible fabric glue formulated to remain pliable after drying.
Attaching Hardware
Attaching hardware is where most DIY straps succeed or fail. The connection point concentrates more stress than anywhere else on the strap, and underestimating that is the single most common mistake we see. When threading webbing through rectangular rings or D-rings, fold at least one and a half to two inches of webbing back on itself. Stitch across the folded section with multiple rows. A box stitch with an X through the center distributes stress across more points and holds significantly better than a single line of stitching. That extra few minutes at the attachment point is the difference between a strap that lasts years and one that pulls out the first time the bag gets loaded down.
Creating Adjustable Straps
Creating adjustable straps requires slider hardware, sometimes called a tri-glide or slide adjuster. The webbing runs through both openings of the slider, with one end secured to the bag and the other threaded back through to allow adjustment. It sounds simple, but threading it incorrectly means the strap either won't adjust or won't hold its position under load. Practice the threading pattern before final installation.
Adding Padding
Padding improves comfort significantly for bags carried for extended periods. Neoprene, foam, or quilted fabric can be sewn into a sleeve that slides over the strap or incorporated during construction. Padding adds bulk, which affects how the strap fits through hardware, so test the fit before committing to the final build.
Reinforcing Stress Points
Reinforcing stress points is time well spent. Bar tacks, which are dense zigzag stitches worked in place, reinforce areas where straps attach to the bag body or where hardware creates concentrated stress. For bags expected to carry heavy loads on a regular basis, that reinforcement is not optional.
Common Mistakes to Avoid
- Underestimating length is a consistent issue. Straps that seem correct when the bag is empty often fall short when the bag is loaded and sits differently on the body. Adjustable straps offer flexibility, but they still need enough range to be useful. Measure with the intended use in mind, then cut.
- Mismatching materials to actual use causes real disappointment. Polypropylene webbing on a bag that will spend significant time in direct sun will degrade faster than expected. Lightweight cotton webbing on a bag for hauling books or tools will stretch and may eventually fail. Think through how the bag will genuinely be used before settling on materials.
- Skimping on stitching at attachment points is one of those shortcuts that always costs more than it saves. The extra rows of stitching take minutes. A strap separating from a bag at the wrong moment is a much bigger problem.
- Ignoring hardware weight ratings can create genuinely unsafe situations. Decorative hardware is not rated for the loads that industrial hardware manages without issue. For anything beyond lightweight casual use, verify the weight ratings on every hardware component before building around it.
Frequently Asked Questions
What width webbing should I use for bag straps?
Width is determined by how much the bag will carry and how you'll carry it. One-inch webbing works well for lightweight crossbody bags and small purses. For shoulder bags carrying daily essentials, one and a half inch webbing distributes weight more comfortably and reduces shoulder fatigue. Heavy bags, backpack straps, and luggage handles typically call for two-inch webbing to spread the load across enough surface area to prevent the strap from digging in.
Can I sew webbing straps by hand?
Yes. Hand-sewing webbing is entirely possible with a heavy-duty needle and strong thread. It takes longer than machine sewing, and reaching the stitch density needed for secure attachment points requires patience. A saddle stitch gives the best strength. Pre-punching holes through multiple layers with an awl makes the process considerably easier on your hands and your needle. Hand-sewing works better with lighter webbing than with heavy industrial-weight material.
How do I calculate how much webbing I need for a project?
Start with the desired finished strap length, then add for hardware attachment. Budget at least three to four inches of webbing per attachment point where you'll be folding the webbing back on itself. For adjustable straps, add length for the slider mechanism plus enough range to make the adjustment actually useful. Overestimating here is almost always the right call. Running short when a project is nearly finished is a frustrating and avoidable problem.
What's the difference between polypropylene and nylon webbing?
Polypropylene is lighter, floats in water, and costs less, which makes it a standard choice for marine and water-adjacent applications. It degrades faster under UV exposure and has lower abrasion resistance than nylon. Nylon is stronger for the same width, handles abrasion better, and holds up longer under sustained sun exposure. Nylon absorbs a small amount of moisture; polypropylene does not. For bag straps that will see regular daily use, nylon typically performs better over time.
How can I make padded straps more comfortable?
Sandwich foam or neoprene padding between two layers of fabric or webbing, then stitch along the edges to encase it. Alternatively, wrap padding around the webbing and enclose it in a fabric tube. The padded section should cover the portion of the strap that contacts your shoulder or body, generally eight to twelve inches. Make sure the padded area can still clear any hardware, or position your hardware outside the padded section entirely.
Troy has helped Country Brook Craft Supply support their community of makers, crafters, sewers, small businesses, and DIYers from the Moulton, Alabama shop for over 15 years.


