How To Cut Webbing
Clean Cuts & Sealed Ends for Professional Results
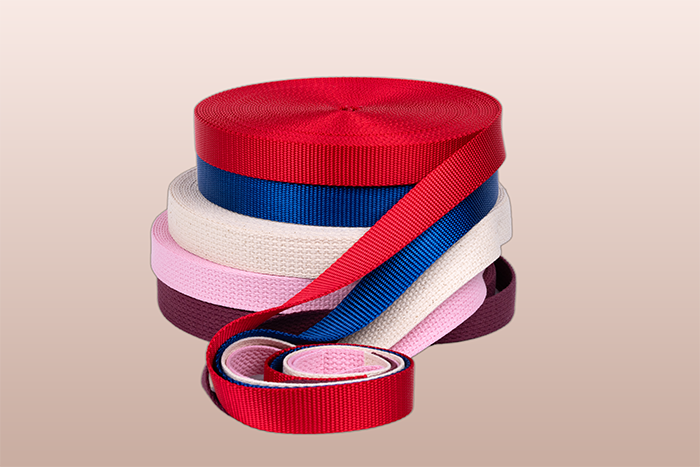
Webbing can be cut quickly and accurately for a wide variety of projects. Made from materials such as nylon, polypropylene, cotton, and blended fibers, webbing is valued for its lightweight strength and flexibility.
Common uses include:
- Seat belts and saftey harnesses
- Bag and luggage handles
- Pet collars and leashes
- Clothing and utility straps
Why Proper Cutting Matters
Webbing has a strong woven structure, but cut ends will fray quickly if left untreated. Industrial manufacturers use hot-knife cutting machines that cut and seal simultaneously. However, for home projects or small-scale production, you can still achieve clean, professional-quality results with basic tools and the right technique.
Tools You'll Need:
- Ruler or measuring tape
- Permanent marker
- Sharp steel scissors
- Lighter or controlled heat source
- Pliers
![]()
Always work in a well-ventilated area and use caution when working with heat.
Step-by-Step: How to Cut and Seal Webbing
Step 1: Measure & Mark
Unroll your webbing and measure the desired length. Mark the cut line clearly with a permanent marker. Measure twice and cut once to avoid waste.
Step 2: Cut the Webbing
Using sharp scissors, cut along the marked line with a single, smooth motion. Avoid sawing back and forth, as this can leave jagged edges.
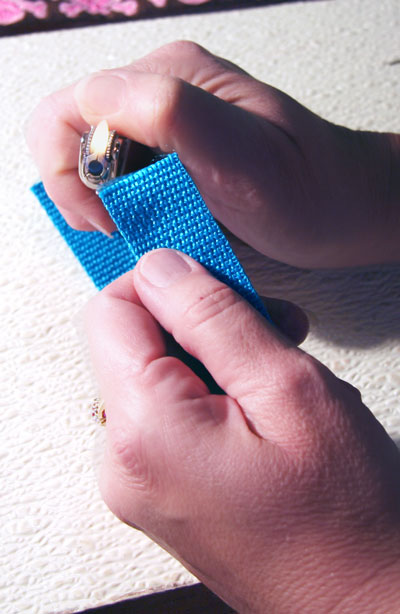
Step 3: Heat-Seal the End
Skip this step for natural fiber webbing (such as cotton).
For synthetic webbing:
- Lightly apply heat to the cut edge until it begins to melt
- Do not hold the flame in one place for too long
Polypropylene webbing may briefly ignite if overheated — if this happens, simply blow out the flame immediately.
Step 4: Compress the Edge
While the edge is still warm, use pliers to gently compress the melted fibers together. This helps fuse the weave and prevents unraveling during use.
Allow the webbing to cool completely before handling or sewing.
Important Safety Notes
- Never heat-seal webbing near flammable materials
- Avoid inhaling fumes from melted synthetic fibers
- Do not attempt to heat-seal cotton or natural-fiber webbing
Final Results
When properly cut and sealed, webbing ends will:
- Resist fraying
- Maintain strength under load
- Look clean and professional
This technique works well for pet products, straps, bags, outdoor gear, and craft projects — whether you’re working at home or producing small batches.
