How To Make Your Own DIY Cloth Face Mask
April 9, 2020 - Posted By Morgan Roper
With the current supply of personal protective equipment at a critical all-time low throughout the entire nation, it’s up to each of us to band together and make a huge difference in this time of need. By using this simple DIY tutorial, you can join crafters across the world making an impact.
Homemade face masks can be donated to be used in hospitals, doctors’ offices, and retirement homes. This relieves the strain of the mask shortage and allows N95 masks to be used for COVID-19 and critical situations requiring more stringent PPE.
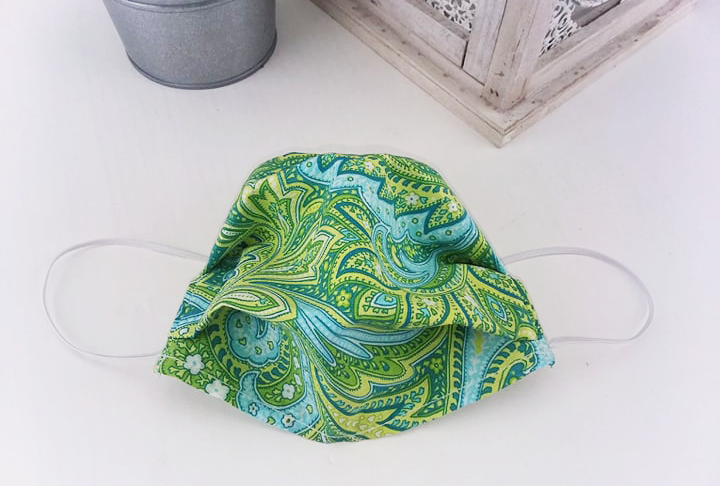
In this tutorial, we will sew a standard face mask with elastic ear hooks that feature an opening for your choice of filter material.
*This project should take approximately 8 minutes to complete*
Supplies Needed For Your Surgical Style Face Mask:
- Fabric of choice
- Sewing Machine
- Thread (We recommend using a nylon bonded #69)
- Ruler
- Elastic Webbing (We recommend 3/16 inch or 1/4 inch)
- Scissors
1. Cut The Fabric and Elastic
- Lay your fabric on a flat table.
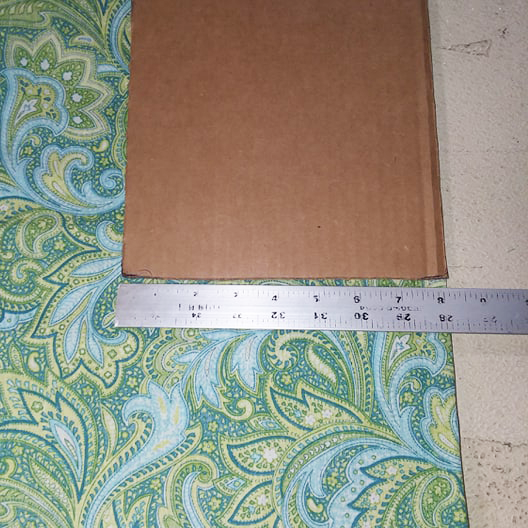
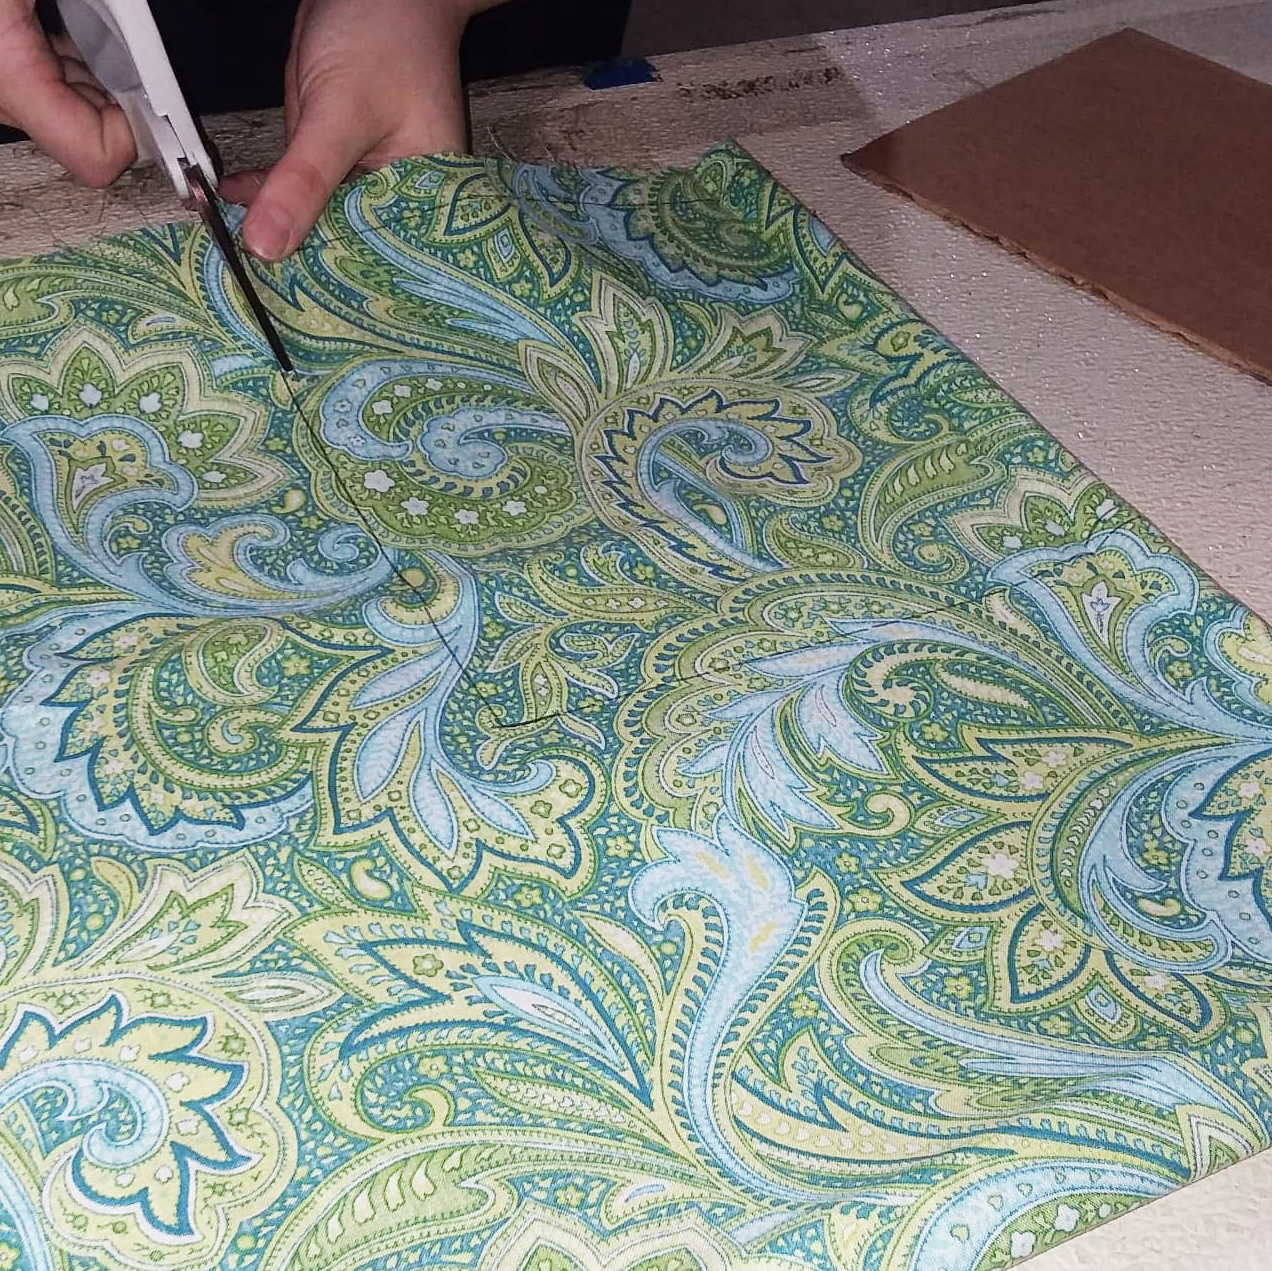
- Next, using a ruler (or pre-cut an 8in X 8in square if you are making multiple masks) you will need to cut (2) different 8X8 inch squares of fabric to complete your mask
- Also, you can either mark where to cut with a pen, or free hand cut the 8 inch lengths
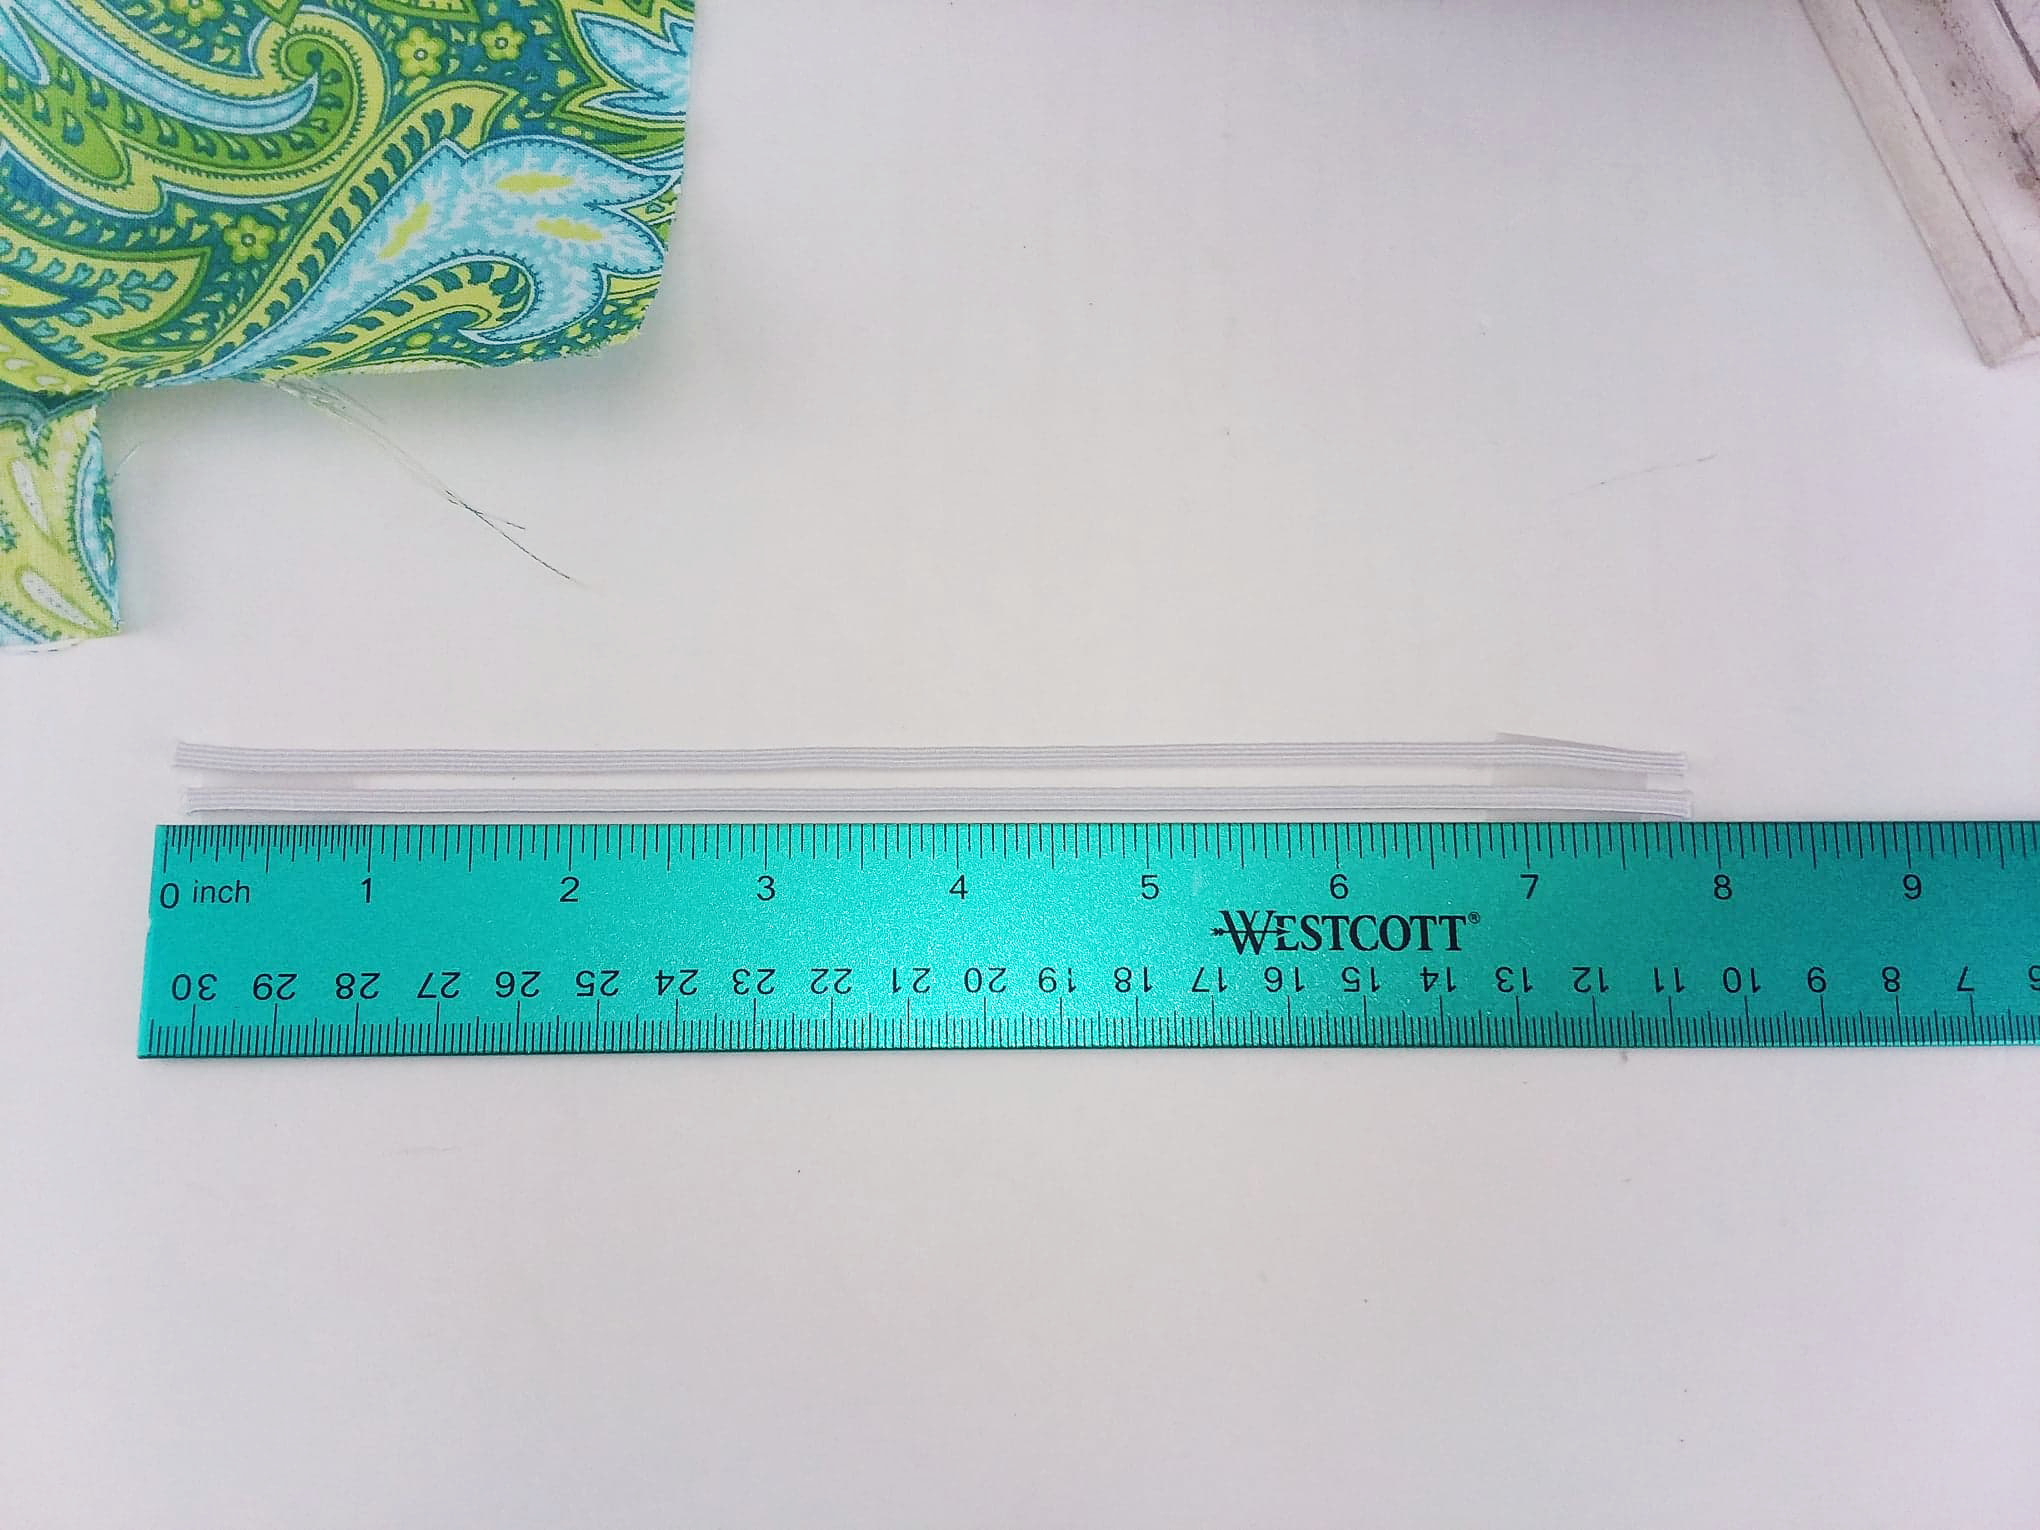
- Next, roll out your elastic webbing and cut (2) different 8 inch length pieces.
- Once your webbing is rolled out, place a ruler next to it.
- Now, you can cut (2) separate 8 inch length pieces



2. Sew The Top Together
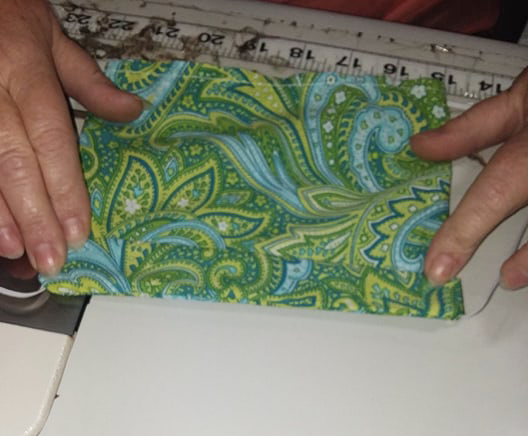
- Turn the fabric squares front to front on top of each other. (The pattern of the fabric squares will need to be facing one another)
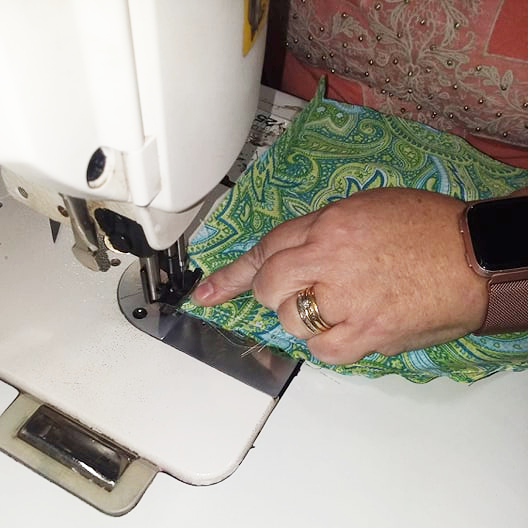
- Sew one side together (The side you choose will become the top)
- Once this first side is sewn, you will need to turn this side facing UP

3. Sew In The Elastic
- Insert one end of the elastic strip into the top corner of the left side of your mask
- After securing the elastic with your fingers in the corner, sew it down
- Continue sewing the left side of the mask together leaving only 1/4 inch un-sewn at the end
- Using the 1/4 inch un-sewn fabric on the left side, insert the bottom end of elastic to be sewn in
- Once the bottom is secured, sew down the rest of the left hand side.
The left hand side is now complete
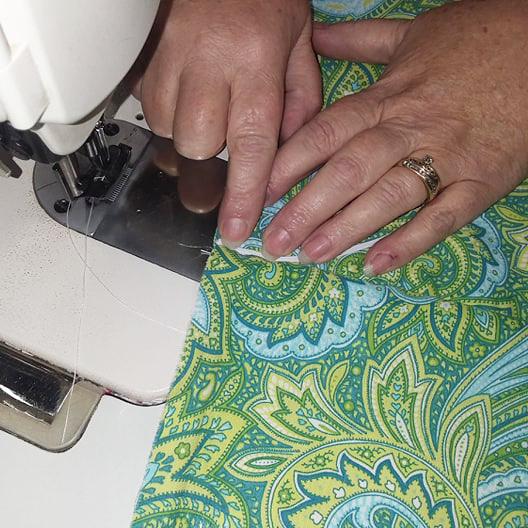

4. Repeat Step 3 For The Right Side Of The Mask
- Insert one end of the elastic strip into the top corner of the right side of your mask.
- After securing the elastic with your fingers in the corner, sew it down
- Continue sewing the right side of the mask together leaving only 1/4 inch un-sewn at the end
- Using the 1/4 inch un-sewn fabric on the right side, insert the bottom end of elastic to be sewn in
- Once the bottom is secured, sew down the rest of the right hand side.
- The right hand side is now complete
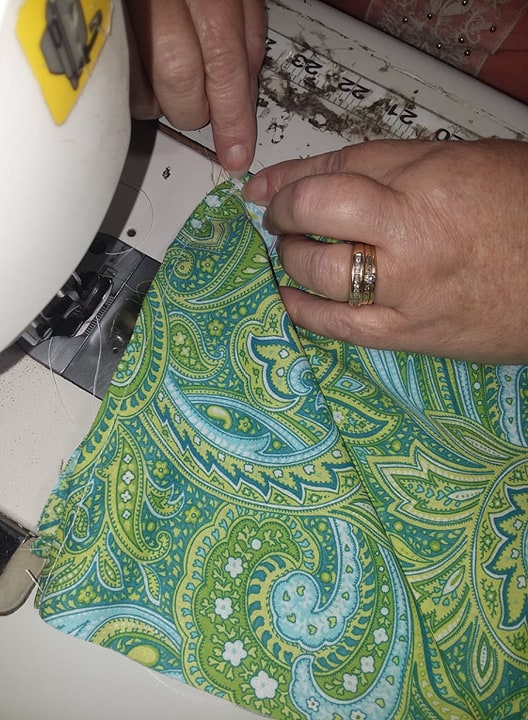

5. Leave The Bottom Un-Sewn Together To Be Used To Insert Filters
- Now that all sides, and top are complete, you will have (1) open bottom end that resembles a “pocket”
- With this open end, we recommend that you “surge” or “hem” the edges to prevent fraying, but it is not strictly necessary
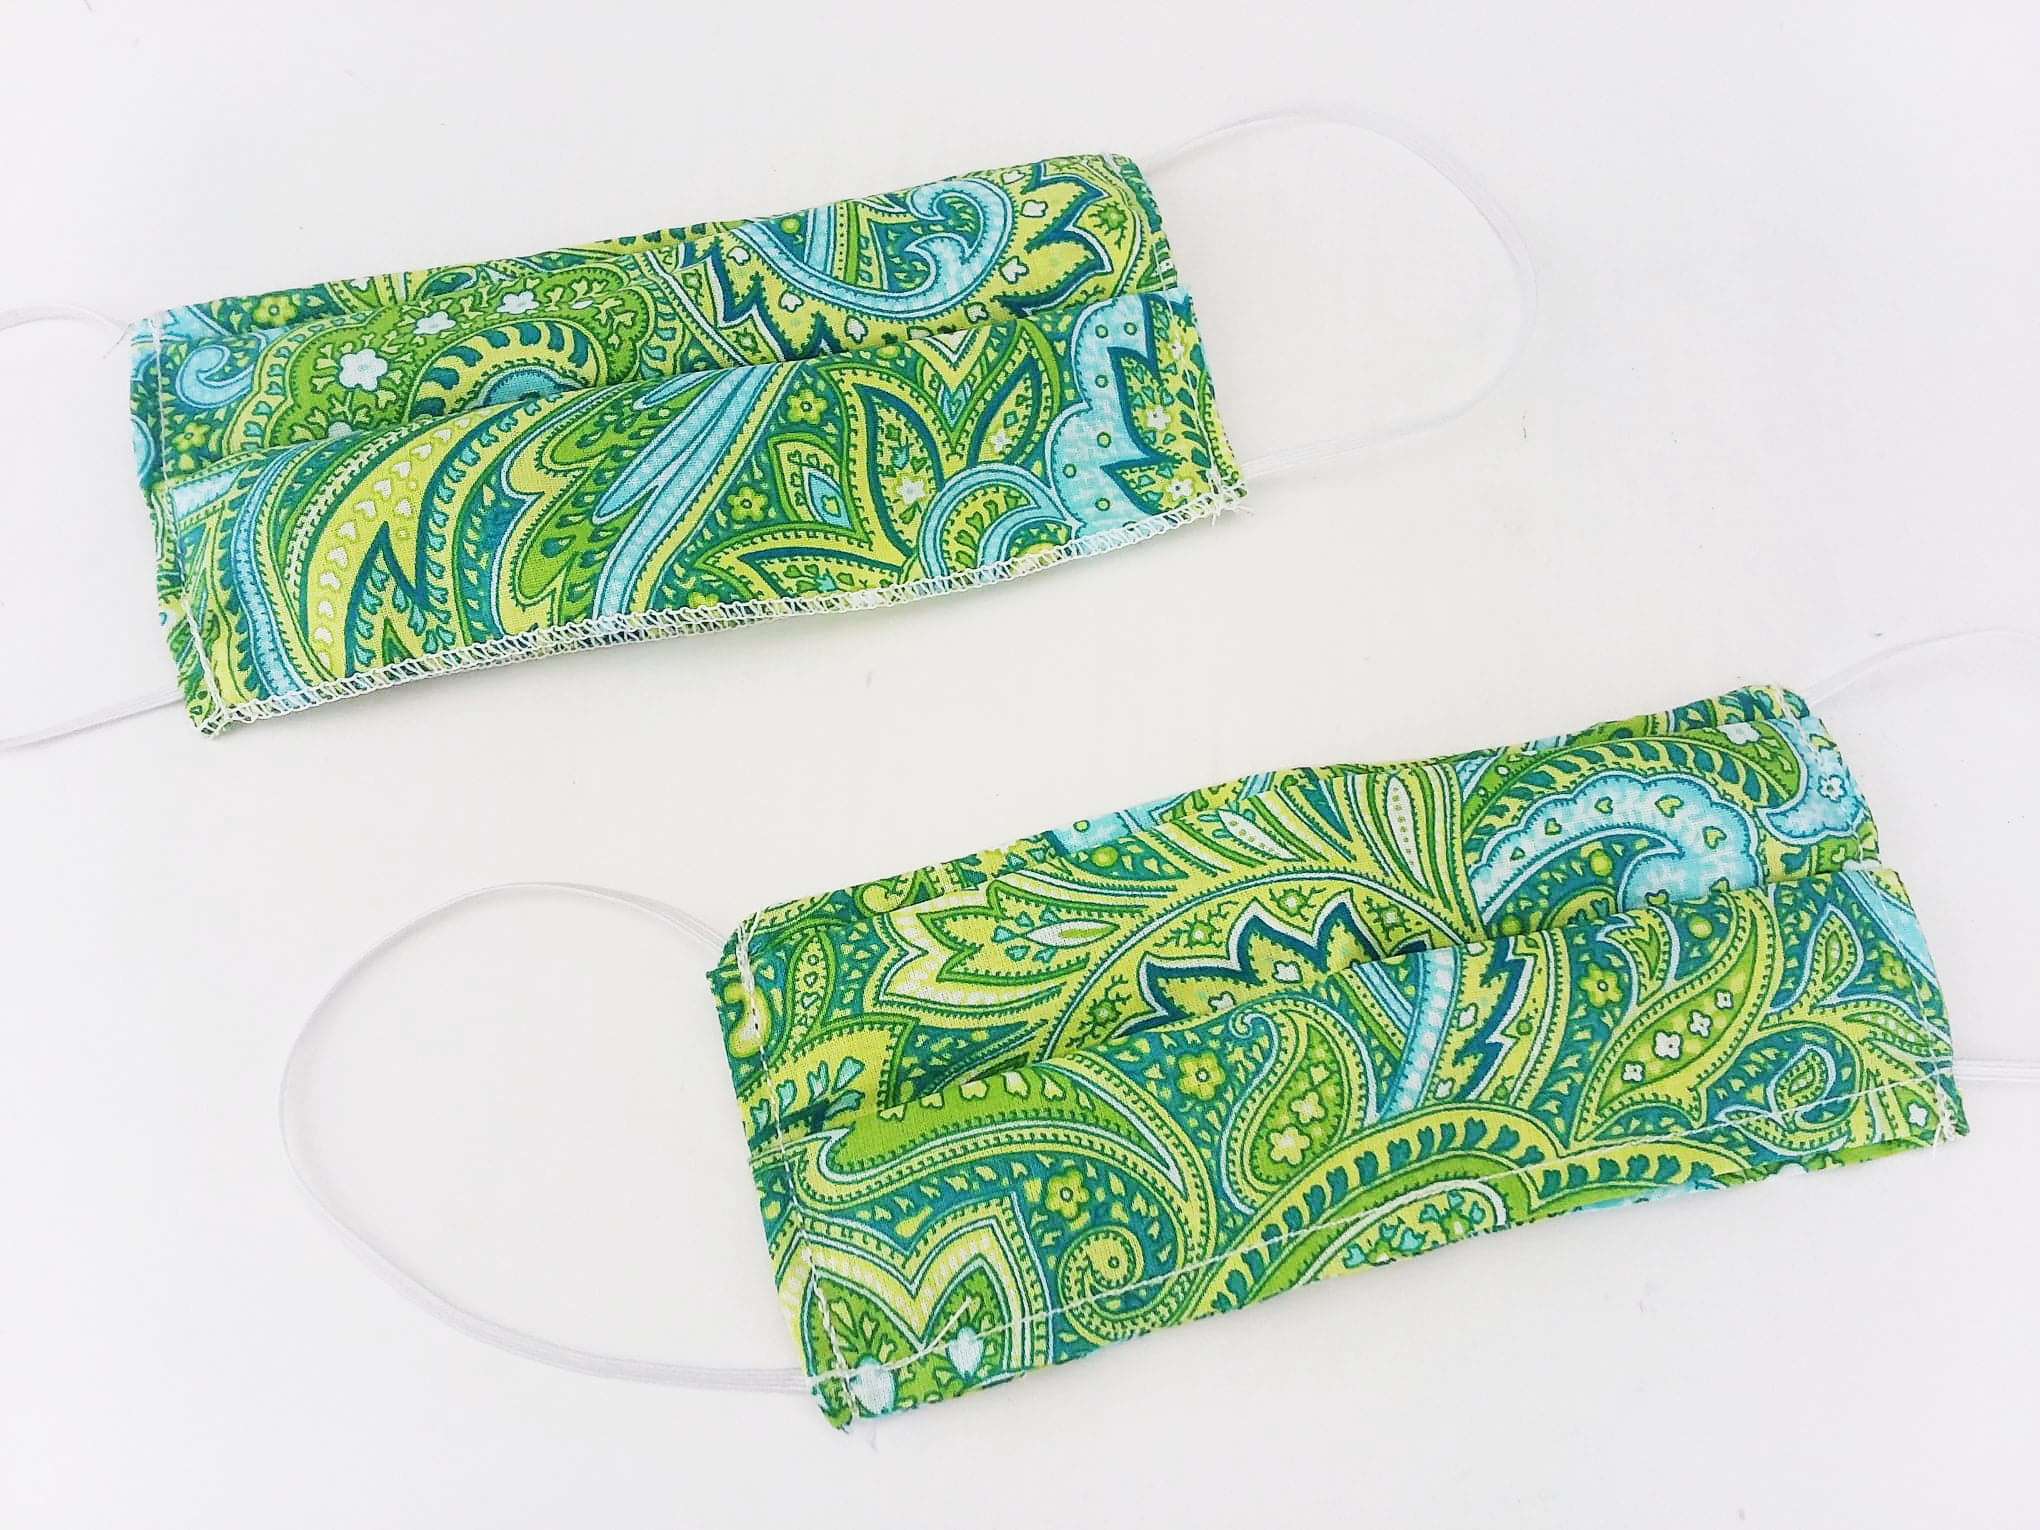

6. Turn Entire Mask Right Side Out
- Now that the inside of your mask is complete, you will need to start on the outside
- In order to start on the outside, you will need to turn your mask right side out
- Grab the inside of the mask and pull it out until the pieces of elastic are on the right and left side of the mask and the pattern of fabric is showing on both sides as well
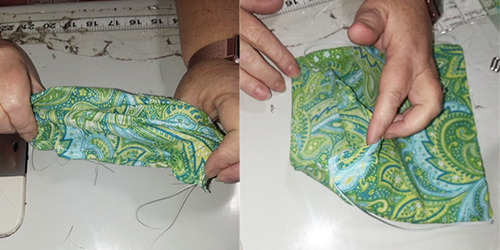

7. Make Pleats For The Mask
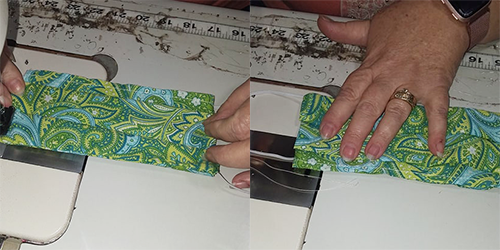
- First, you will need to fold and make a pleat at the top of the mask
- Next, you will need to sew down this pleat on both the right and left hand sides
- After the first pleat is sewn, you will need to fold and make a second pleat mid way down the mask
- Lastly, you will sew down the secured (2nd) pleat


You’re All Finished!
Thank You For Helping The Fight Against This Pandemic

COVID-19 And Fabric Face Mask Notes:

For The General Public:
- Please read the CDC recommendations to help slow the spread of COVID-19
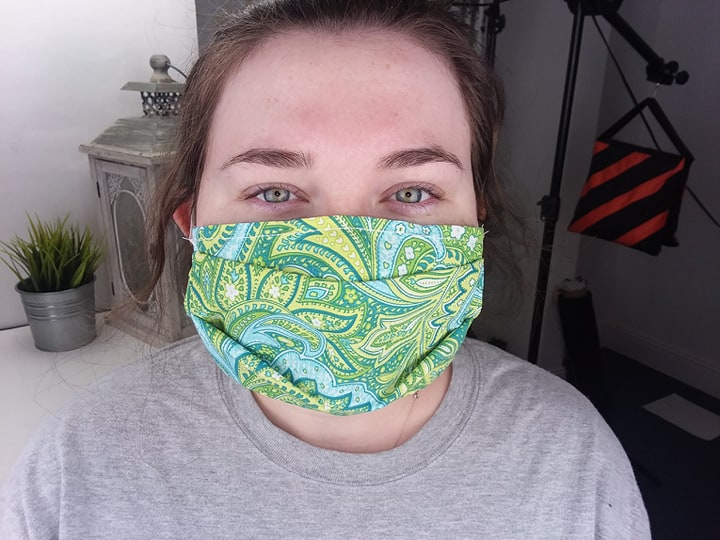
- Some municipalities now require you to wear a face mask to leave your home.
- Hand Washing And Social Distancing Are Our First Line of Defense For Controlling The Current Pandemic.
For Health Care Providers:
- The CDC suggests that health care providers only use homemade masks as a last resort.
- In case all other face mask options are exhausted, the CDC recommends that a health care provider use homemade masks with a face shield that covers the entire length of the face.



Craft Difficulty Guide

How To Make Your Own DIY Cloth Face Mask
April 9, 2020 - Posted By Morgan Roper
With the current supply of personal protective equipment at a critical all-time low throughout the entire nation, it’s up to each of us to band together and make a huge difference in this time of need. By using this simple DIY tutorial, you can join crafters across the world making an impact.
Homemade face masks can be donated to be used in hospitals, doctors’ offices, and retirement homes. This relieves the strain of the mask shortage and allows N95 masks to be used for COVID-19 and critical situations requiring more stringent PPE.
In this tutorial, we will sew a standard face mask with elastic ear hooks that feature an opening for your choice of filter material.
- Fabric of choice
- Sewing Machine
- Thread (We recommend using a nylon bonded #69)
- Ruler
- Elastic Webbing (We recommend 3/16 inch or 1/4 inch)
- Scissors
*This project should take approximately 8 minutes to complete*
-
Cut The Fabric And Elastic

- Lay your fabric on a flat table.
- Next, using a ruler (or pre-cut an 8in X 8in square if you are making multiple masks) you will need to cut (2) different 8X8 inch squares of fabric to complete your mask
- Also, you can either mark where to cut with a pen, or free hand cut the 8 inch lengths


- Next, roll out your elastic webbing and cut (2) different 8 inch length pieces.
- Once your webbing is rolled out, place a ruler next to it.
- Now, you can cut (2) separate 8 inch length pieces
-
Sew the top together.

- Turn the fabric squares front to front on top of each other. (The pattern of the fabric squares will need to be facing one another)
- Sew one side together (The side you choose will become the top)
- Once this first side is sewn, you will need to turn this side facing UP
-
Sew in the elastic.

- Insert one end of the elastic strip into the top corner of the left side of your mask
- After securing the elastic with your fingers in the corner, sew it down
- Continue sewing the left side of the mask together leaving only 1/4 inch un-sewn at the end
- Using the 1/4 inch un-sewn fabric on the left side, insert the bottom end of elastic to be sewn in
- Once the bottom is secured, sew down the rest of the left hand side.
- The left hand side is now complete
-
Repeat step 3 for the right side of the mask

- Insert one end of the elastic strip into the top corner of the right side of your mask.
- After securing the elastic with your fingers in the corner, sew it down
- Continue sewing the right side of the mask together leaving only 1/4 inch un-sewn at the end
- Using the 1/4 inch un-sewn fabric on the right side, insert the bottom end of elastic to be sewn in
- Once the bottom is secured, sew down the rest of the right hand side.
- The right hand side is now complete
-
Leave the bottom un-sewn together to be used to insert filters.

- Now that all sides, and top are complete, you will have (1) open bottom end that resembles a “pocket”
- With this open end, we recommend that you “surge” or “hem” the edges to prevent fraying, but it is not strictly necessary
-
Turn entire mask right side out

- Now that the inside of your mask is complete, you will need to start on the outside
- In order to start on the outside, you will need to turn your mask right side out
- Grab the inside of the mask and pull it out until the pieces of elastic are on the right and left side of the mask and the pattern of fabric is showing on both sides as well
-
Make pleats for the mask

- First, you will need to fold and make a pleat at the top of the mask
- Next, you will need to sew down this pleat on both the right and left hand sides

- After the first pleat is sewn, you will need to fold and make a second pleat mid way down the mask
- Lastly, you will sew down the secured (2nd) pleat
You’re All Finished!

Thank You For Helping The Fight Against This Pandemic

COVID-19 And Fabric Face Mask Notes:
For the General Public:
- Please read the CDC recommendations to help slow the spread of COVID-19
- Some municipalities now require you to wear a face mask to leave your home.
- Hand Washing And Social Distancing Are Our First Line of Defense For Controlling The Current Pandemic.
For Health Care Providers:
- The CDC suggests that health care providers only use homemade masks as a last resort.
- In case all other face mask options are exhausted, the CDC recommends that a health care provider use homemade masks with a face shield that covers the entire length of the face.
 Review and Win! Share your verified review and get a chance to win a $25 store credit!