How to Make a Paracord Bracelet With Buckle
A Practical Way to Carry Paracord Anywhere
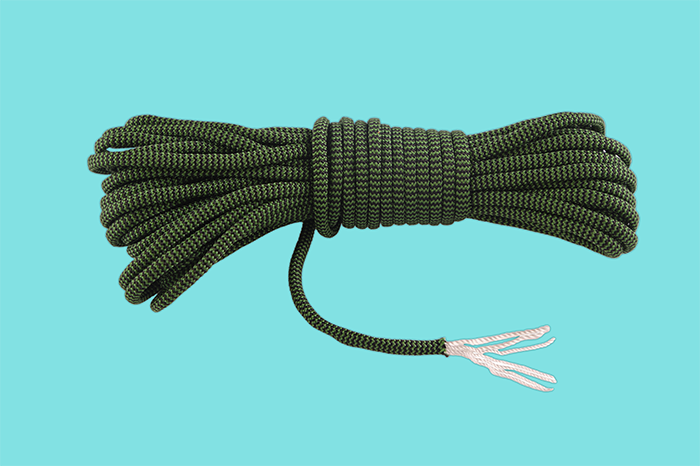
Paracord is a must-have for climbers, backpackers, and outdoor enthusiasts. Originally developed for paratroopers during World War II, paracord (short for parachute cord) is a lightweight yet extremely strong nylon rope that has proven useful far beyond its original purpose.
Today, paracord is widely used by both military and civilian users for camping, hiking, emergency preparedness, and everyday utility.
What Is Paracord?
Standard 550 paracord is constructed from seven inner nylon strands, all encased in a tightly woven outer sheath. These inner strands can be removed and used individually when thinner cord is needed — such as for repairing gear, replacing a shoelace, or tying small items
Paracord is commonly used for:
- Securing tents and tarps
- Attaching gear to backpacks or harnesses
- Tying down items on vehicles or racks
- Emergency situations, such as splints or tourniquets
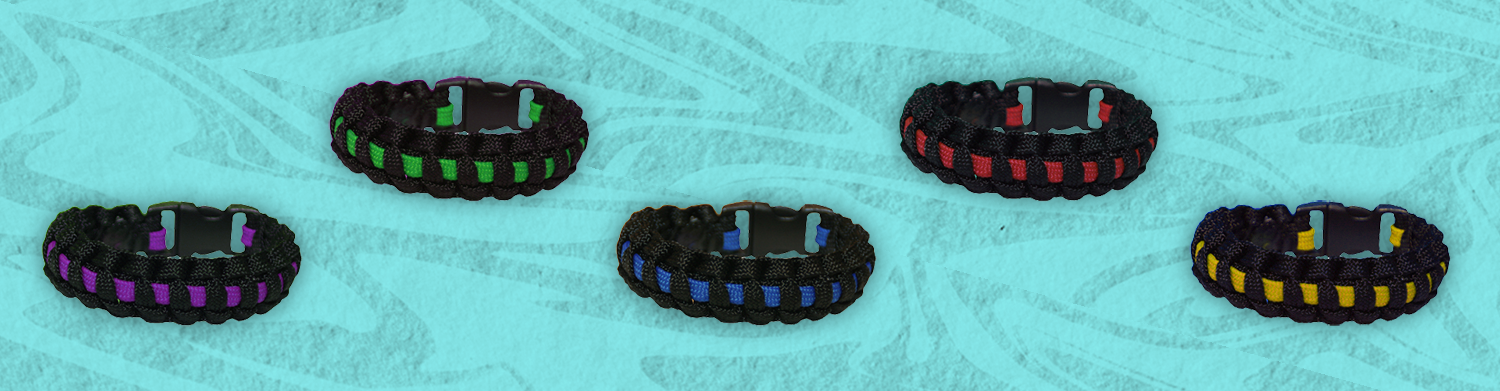
Why Make a Paracord Bracelet?
Because paracord is so versatile, people have come up with clever ways to carry it without taking up space. Keychains and belts are popular options, but one of the most practical — and wearable — solutions is a paracord bracelet.
A standard paracord bracelet can hold approximately 8 feet of paracord, since about one inch of cobra stitching conceals roughly one foot of cord. For even more length, you can double the cord and wrap the bracelet around your wrist twice before fastening it.
Supplies You’ll Need
- 550 lb. paracord
- A side-release buckle
- Scissors
- Lighter or heat source
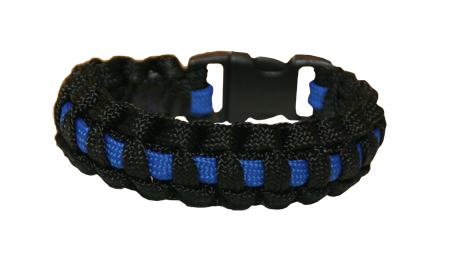
Step-by-Step: Making the Bracelet
1. Measure & Fold
Cut your desired length of paracord and fold it in half. Slide the folded end through one half of the side-release buckle and pull the cord through to secure it at the midpoint.
2. Secure the Buckle End
Temporarily tape or clamp the buckle so it doesn’t shift while you’re tying.
3. Begin the Cobra Stitch
-
- Start with the left cord and pass it under both center strands.
- Take the right cord, run it under the left cord, over the center strands, and through the loop on the left side.
- Pull tight.
4. Alternate Sides
Repeat the same steps from the opposite direction, alternating left and right to create the cobra stitch pattern.
5. Prepare for the Second Buckle End
Before finishing, loosen the top loops slightly. This will allow room to attach the second half of the buckle.
(If you prefer not to use a buckle, you can create a knot ball instead and loop the bracelet over it.)
6. Finish the Bracelet
Continue stitching until you’re about ½ inch from the end, leaving room for the buckle attachment.
Securing & Finishing
Attach the second half of the side-release buckle using the two loose strands. Tie a strong securing knot, then trim any excess cord.
Use a lighter to carefully melt the cut ends to prevent fraying and help lock the knot in place. Allow the melted ends to cool before wearing.
Always use caution when working with open flames.
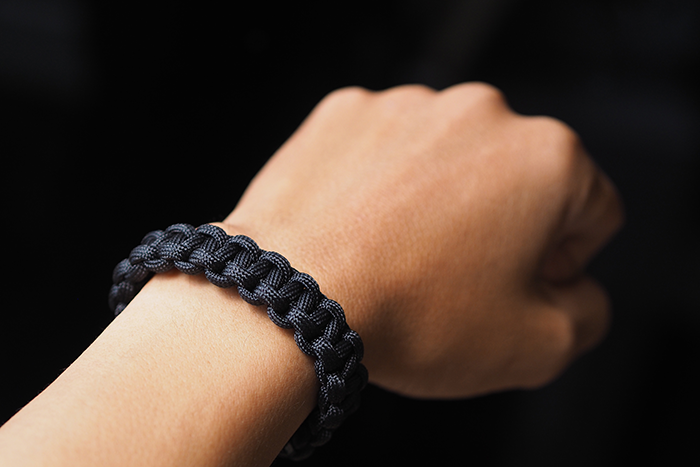
Wear It — Or Unravel It When Needed
Once complete, your paracord bracelet is ready to wear. If you ever need cord in an emergency or outdoor situation, simply unbuckle and unravel it — instant access to several feet of strong paracord.
After mastering this technique, you can even apply it to belts, straps, or lanyards for carrying even more cord.
Have fun, stay prepared, and enjoy your adventures!


