How to Sew Nylon Webbing Together
Nylon webbing can be used for many projects and materials. Some of these things include seat belts, dog collars and leashes and camping equipment. If you are creating your own unique design, you will need to know how to put nylon pieces of the material together properly.
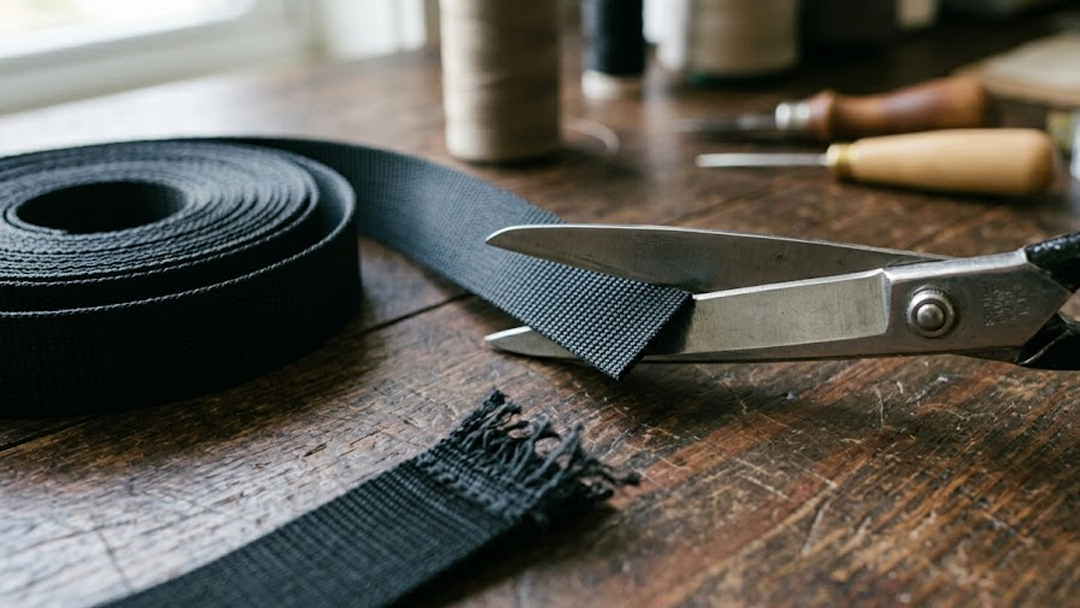
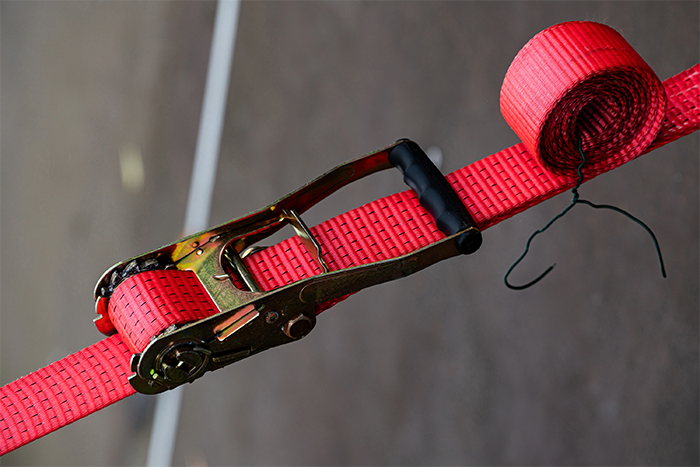
Because nylon webbing is such a strong material, you will need to use a strong pair of scissors or cutting utensils to cut it evenly. To ensure that the ends do not fray, you will need to burn them. This works well with a lighter that allows you to control the height of the flame with a dial.
When the ends of the material have been burnt and have cooled enough to easily handle, you will be able to measure the length that you will need for your project. Take the length measured and add at least 3 inches per end to the final measurement.
You will need to overlap the ends evenly for strength. If you are working on a project that will need a lot of strength, such as a heavy hiking backpack, you can overlap the straps by a much longer length than the suggested three inches.
To sew the ends together efficiently, you should have heavy-duty thread. You can find the right type of thread for your specific project at craft stores. You will be begin by creating a stretch style stitch.
A stretch style stitch should be understood well before beginning the sewing process. To stretch stitch you will stitch forward once and twice back. You will complete this by stitching the top, then the two sides, then the bottom.
When the stitching has been completed, you will end with a final X stitch. Stitch an X on one full square in the mid section where you have combined the two nylon-webbing pieces together.
Sewing nylon webbing pieces together can be a simple job. It is important to understand how to do this properly. Without proper fusion, the pieces can become frayed and weak. This can be dangerous if the webbing is made for a sling, seatbelt or lifting device.
Tips for Strong, Durable, and Safe Results
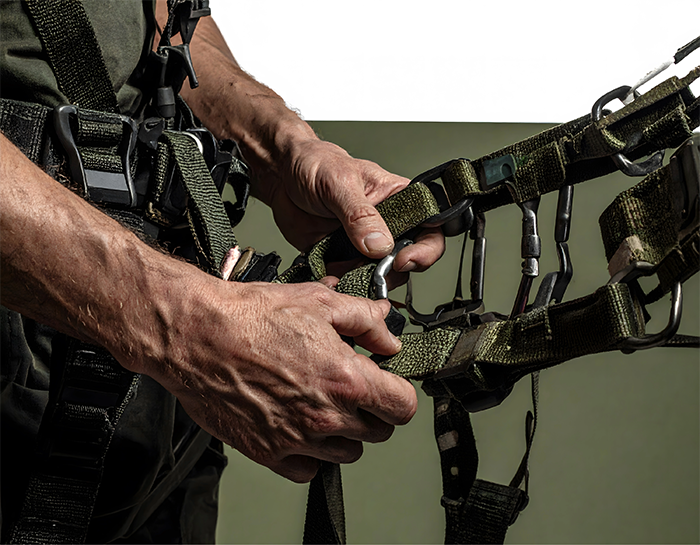
Nylon webbing shows up in everything from backpacks and camping gear to dog collars and heavy-duty straps. It is trusted because of its strength, flexibility, and ability to hold up under stress. That same strength is exactly what makes it important to sew it correctly.
When two pieces of nylon webbing are joined improperly, the failure point is almost always the seam. Even high-quality materials can become unreliable if they are not stitched with the right technique. Whether you are building gear from scratch or repairing something that sees regular use, learning how to sew nylon webbing together the right way makes a noticeable difference in both durability and safety.
This guide walks through the full process, from cutting and sealing to stitching and reinforcement, so your finished product holds up in real-world conditions.
Why Proper Sewing Matters
Nylon webbing is designed to handle tension, weight, and repeated use. When you stitch it together, you are creating a connection that needs to perform just as well as the material itself.
A weak seam can lead to stretching, fraying, or complete failure under load. This is especially important in applications like pet gear, outdoor equipment, or anything that supports weight. A collar, strap, or harness may look fine at first, but poor stitching can cause problems over time.
Strong stitching distributes force across the webbing instead of concentrating it in one area. That is what keeps the material from tearing and allows the finished product to last.
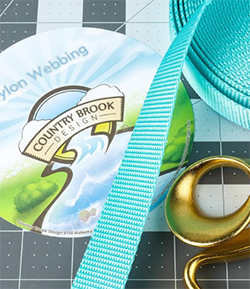
Cutting Nylon Webbing Cleanly
The process starts with a clean cut.
Nylon webbing is tightly woven, which makes it resistant to fraying at first but prone to unraveling once the fibers are exposed. Using dull scissors can crush or distort the edges, making the material harder to work with.
Heavy-duty scissors or a sharp cutting tool will give you a straight, clean edge. Taking the time to cut accurately also helps when aligning pieces later in the process.
Once cut, the edges need to be sealed.
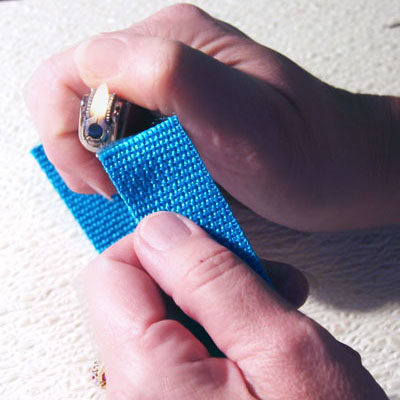
Heat Sealing to Prevent Fraying
If nylon webbing is left untreated after cutting, the fibers will begin to fray. Over time, this can weaken the material and affect the integrity of your project.
Heat sealing is the simplest and most effective way to prevent this.
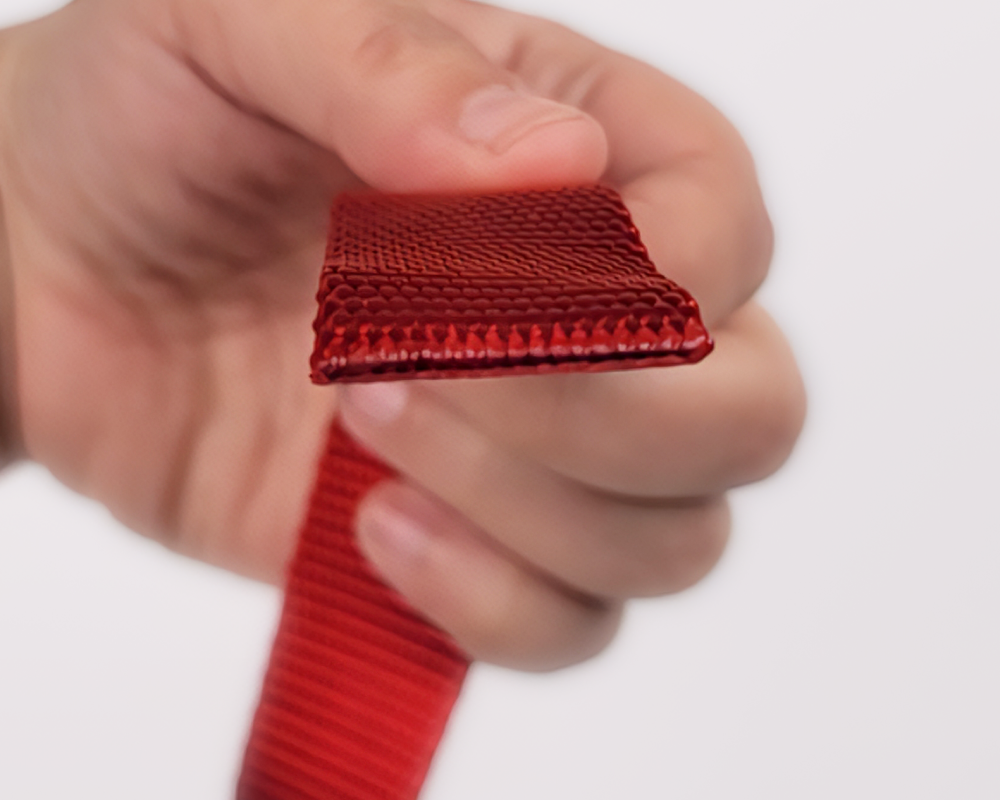
A lighter or controlled flame can be used to gently melt the cut edge. The goal is not to burn the material but to fuse the fibers together just enough to stop unraveling. Keeping the flame low and moving it evenly across the edge helps avoid scorching.
After sealing, allow the webbing to cool completely before handling it. The edge should feel slightly firm and smooth, not brittle or charred.
This small step goes a long way in improving both the appearance and durability of your finished piece.
Measuring & Preparing the Overlap
Joining nylon webbing is not just about stitching two ends together. The amount of overlap between the pieces plays a major role in strength.
A standard guideline is to allow at least three inches of overlap on each end. This creates enough surface area for stitching to hold securely under normal use.
For projects that will carry more weight or experience frequent stress, increasing that overlap is a smart move. A longer overlap spreads the load across a larger section of webbing, reducing strain on any single point.
Before sewing, make sure the webbing is aligned properly. Misalignment at this stage can lead to uneven tension or twisting once the piece is in use.
Clipping or pinning the layers in place can help keep everything steady while you prepare to stitch.

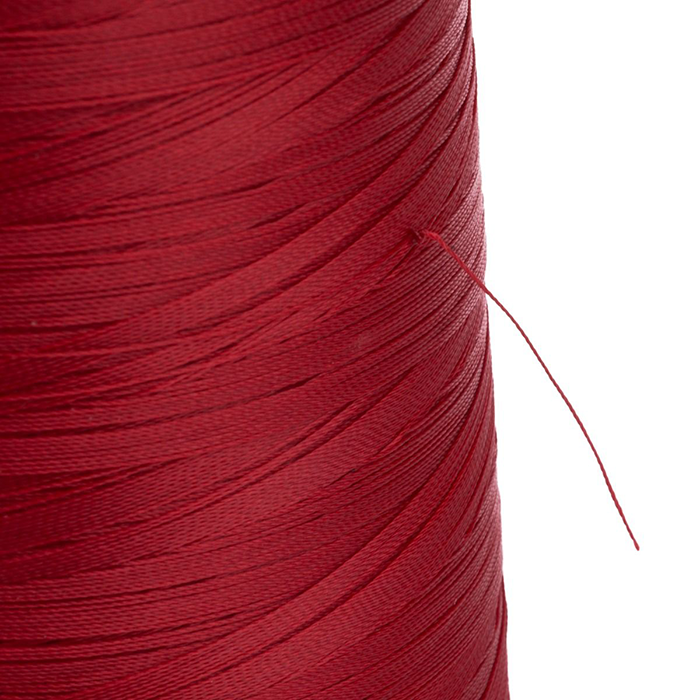
Choosing the Right Thread
Thread is often overlooked, but it is just as important as the webbing itself.
Standard sewing thread is not designed to handle the tension and abrasion that webbing experiences. Using the wrong thread can result in seams that weaken or break long before the webbing does.
Heavy-duty bonded nylon thread is a strong choice for most projects. It is designed to resist wear while maintaining flexibility, which allows it to move with the webbing rather than cutting into it.
Size B69 is commonly used because it offers a balance between strength and compatibility with many home sewing machines.
Matching the thread to the demands of your project ensures that the stitching performs as intended over time.
Stitching Nylon Webbing Together
Once your webbing is cut, sealed, and aligned, it is time to sew.
The goal is not just to connect the pieces but to create a seam that can handle repeated stress. A simple straight stitch is not enough for most webbing applications. It may hold initially, but it does not distribute force effectively.
Instead, reinforced stitch patterns are used.
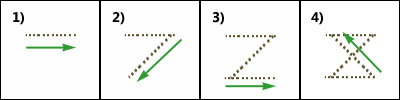
The Most Reliable Stitch Patterns
Sewing nylon webbing correctly isn’t just about appearance — it’s about safety and performance. Improperly joined webbing can:
- Weaken under tension
- Fray or separate over time
- Fail unexpectedly in load-bearing applications
This can be especially dangerous when webbing is used for slings, seat belts, lifting devices, or pet products.
Machine vs Hand Sewing
While it is possible to sew nylon webbing by hand, a sewing machine is usually the better option.
Machines provide more consistent tension and allow you to work through thicker layers more efficiently. A heavy-duty or industrial machine is ideal, but many home machines can handle webbing when paired with the right needle and thread.
If you are sewing by hand, take extra care to keep your stitches tight and evenly spaced. Reinforcing the seam multiple times can help compensate for the lower tension of hand stitching.

Common Mistakes to Avoid
Even small missteps can affect the performance of your finished product.
One of the most common issues is using too little overlap. This limits the surface area for stitching and increases the risk of failure.
Another is skipping reinforcement. Straight stitches alone are rarely enough for webbing, especially in high-stress applications.
Improper heat sealing can also cause problems. Burning the edges too aggressively can weaken the material, while skipping sealing altogether leads to fraying.
Finally, mismatched thread or poor stitching technique can undermine an otherwise well-built piece.
Paying attention to these details helps ensure that your work holds up over time.
Where Strong Webbing Seams Matter Most
While it is possible to sew nylon webbing by hand, a sewing machine is usually the better option.
Machines provide more consistent tension and allow you to work through thicker layers more efficiently. A heavy-duty or industrial machine is ideal, but many home machines can handle webbing when paired with the right needle and thread.
If you are sewing by hand, take extra care to keep your stitches tight and evenly spaced. Reinforcing the seam multiple times can help compensate for the lower tension of hand stitching.
Final Thoughts
Sewing nylon webbing together doesn’t have to be complicated, but it does require the right materials and techniques. By:
- Heat-sealing cut ends
- Allowing sufficient overlap
- Using heavy-duty bonded nylon thread
- Reinforcing stitches with a box or box-and-X pattern
you can create strong, reliable webbing connections that stand up to real-world use.
FAQ
What is the best stitch for nylon webbing?
The box-and-X stitch is one of the strongest and most commonly used patterns. It distributes tension evenly and helps prevent seam failure.
How much overlap should I use when sewing webbing?
At least three inches is recommended for most projects. For heavier loads, increasing the overlap improves strength.
Do I need special thread for nylon webbing?
Yes. Heavy-duty thread, such as bonded nylon, is recommended because it can handle tension and abrasion better than standard thread.
Can I sew nylon webbing with a regular sewing machine?
Many home sewing machines can handle webbing when paired with the right needle and thread. For thicker or multiple layers, a heavy-duty machine may be needed.
How do I stop nylon webbing from fraying?
Heat sealing the cut edges with a lighter or controlled flame helps fuse the fibers and prevent unraveling.
Is hand sewing strong enough for webbing?
It can be for lighter applications, but machine sewing provides more consistent strength and is preferred for load-bearing projects.
Why is my webbing slipping after sewing?
This is often caused by insufficient overlap or lack of reinforcement stitching. Using a box or box-and-X pattern can improve stability.
Can sewn webbing hold heavy weight?
Yes, when stitched correctly with proper materials and techniques, nylon webbing can handle significant loads.


