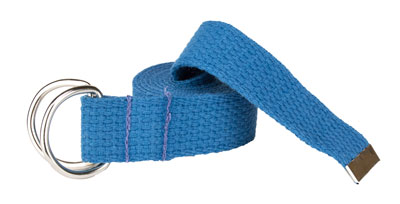
How to Make a Cotton D-Ring Belt
Few fashion accessories are as important as your belt. Belts are practical, and with the right color or pattern, they can be beautiful too. Some fashionable D-Ring belts can cost you over $100, but we're going to make one for a fraction of that price. It's fun and easy with this simple step-by-step how-to!
This how-to demonstrates how to make a D-Ring belt with a solid color cotton webbing. If you want to make a stunning patterned D-ring belt, visit this how-to instead.
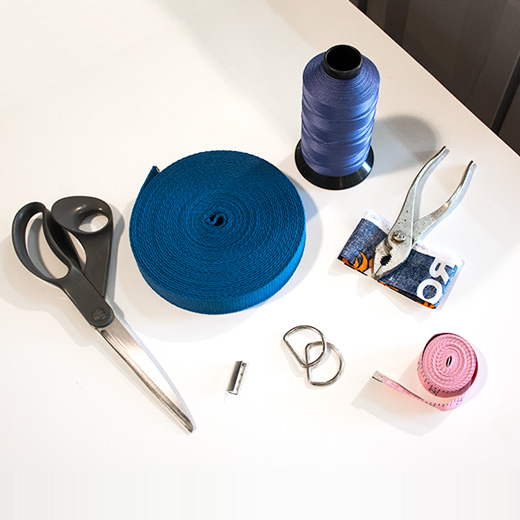
Okay, let's get started! Here's what we need:
- 2 yards of 1" cotton webbing
- Thread. For a simple cotton webbing belt, I usually prefer a matching color.
- 2 D-rings, 1 inch
- A 1" metal belt tip - This gives us a nice finished edge without worrying about the fabric fraying.
- Scissors
- Pliers
- A piece of scrap fabric
- Fabric measuring tape
- A sewing machine
1. Measure Your Waistline
Wrap the measuring tape around your navel. If you don't have a fabric measuring tape, use a piece of string instead. Then you can measure the string with a stiff utility measuring tape.
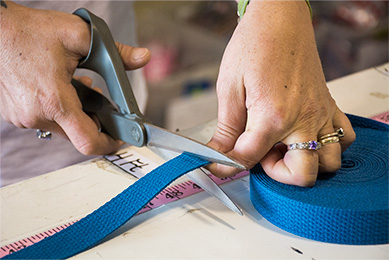
2. Cut The Webbing
Add 8" to your waist measurement. This will be the length of the webbing. You'll need the extra length for the loop you make around the D-rings. Go ahead and cut the webbing to length.
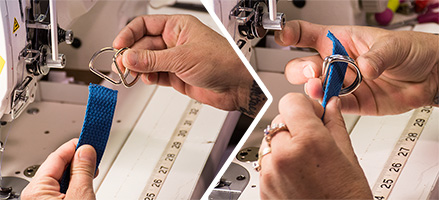
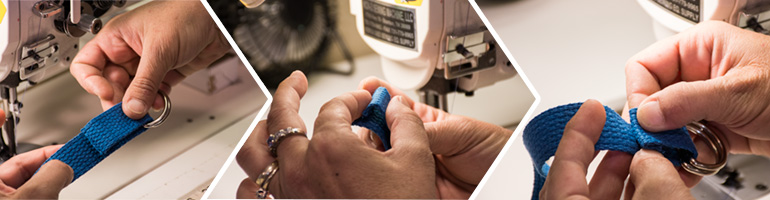
3. Thread The D-Rings
Take one end of the webbing and thread it through the two D-rings.
4. Loop The Webbing Around The D-Rings
Fold your cotton webbing back around so it creates a closed loop surrounding the D-rings. For a more professional finish, tuck the end of the cotton webbing in under the loop.
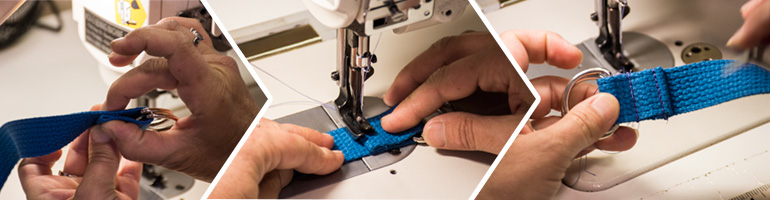
5. Sew The Loop Closed
Triple-stitch the loop to the body of the belt for a tight hold.
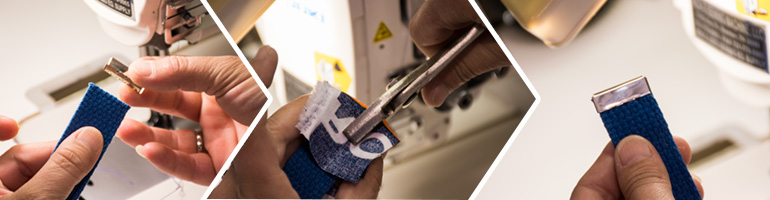
6. Attach The Belt Tip
At the other end of the belt, attach your belt tip. I do this by seating it on the end of the webbing, covering it in a piece of scrap fabric, then gently squeezing it together with pliers. The scrap fabric is used to protect the belt tip from getting scratched by your pliers.
Congratulations, you've created your own D-Ring belt! That wasn't too difficult was it? Your belt is a simple way to accessorize your outfit, and it will certainly draw attention. When you feel comfortable with making this belt, you might want to try your hand at the patterned fabric belt.